
This blog post is a mini-primer on how to travel across America by train. In here, you’ll find tips on:
- Which Class of Service to Choose?
- Which Amtrak route to take?
- How to purchase or redeem points for your journey
- How to pack for your long distance train journey
- Capitol Limited: A Review
- California Zephyr: A Review
Introduction
I’ve always had an interest in train travel. Last year, I had the pleasure of traveling across the country overland on Amtrak. Some thought I was crazy to spend a three-day weekend riding a train from DC to San Francisco via Chicago, only to immediately take a flight back home to be at the office on Tuesday. Despite it being a short trip, I thoroughly enjoyed the opportunity, most particularly because it afforded me the opportunity to see a part of the country that few get to, all from the comfort of my very own room. In this post, I’ll share with you how to I traveled across the country using points, what the experience was like, and any tips to make your Amtrak train experience unforgettable.
But first…
Why Travel Across America by Train?
Simple – it’s the best way to see America, in a short amount of time.
Car travel is just too exhausting. You can’t really walk around inside a car, and you’ll be stuck in traffic whenever near a major city.
Air travel is fairly quick, but aside from peering through clouds, it’s hard to get a sense of what America truly looks like from above.
Train travel, on the other hand, is relatively comfortable, yet still affords you the perfect opportunity to view the country at your leisure. So stop thinking about reasons to go, and just commit. Let’s do this!
Which class of service to choose?
Okay, now that you’re absolutely ready to book that train trip, it’s time to book your trip. Before you reserve your ticket, you should note that on some long-distance Amtrak routes, you’ll have several options:
Reserved Coach Seat – The cheapest option available. For those that have never ridden on Amtrak, these seats are surprisingly comfortable and fairly spacious in both width and legroom. For shorter trips, a coach seat will do. On a cross-country trip, expect to pay $400 – $500 for a one-way ticket in reserved coach. However, if your journey is going to be for more than 12 hours, I’d highly recommend the other two options.
Roomette – The mid-tier product. Unlike the coach seats, where you won’t have any privacy, the roomette is essentially a room containing two coach seats that sit across each other, that convert to two bunk beds at night. In addition to the privacy, some additional benefits include:
- Free meals on board throughout your journey.
- Access to a shower, which is extremely helpful if you’re on a long multi-day itinerary.
- Your own window — folks in coach looking for a view will head to the viewing car, which can get really crowded.
- See more here: Amtrak Roomette
If you’re booking a cross-country ticket with a roomette, expect to pay $1400 – $1600 one-way.
Bedroom – The top tier product. Basically, you’ll get the same benefits as the roomette, but you’ll have more space available in your room, and your bathroom will probably be even less busy than those in staying in the roomette. As a broke twenty-something, I didn’t really bother considering this product as an option when I booked my train journey.
Pro-tip: If this is your first time doing a cross-country trip on Amtrak, get the roomette. It might be a little narrow for some (especially when you close the sliding doors at night), but the added privacy compared to coach, access to showers and free meals, and significantly cheaper price compared to the bedroom make the roomette my preferred recommendation.
Which route to take?
Now that you’ve weighed your options on which class to choose, it’s time to decide which journey you’ll want to take. Amtrak has several options to choose from:
- The Sunset Limited – Between New Orleans and L.A.
- The Southwest Chief – Between Chicago and L.A.
- The California Zephyr – Between Chicago and Emeryville (with a connecting shuttle across the bay to San Francisco)
- The Empire Builder – Between Chicago and Seattle or Portland
- The Texas Eagle – Between Chicago and L.A., via southern Texas
Each route has its highlights, and you can learn more about them at Seat 61. For my first cross-country trip, I opted to take The California Zephyr, for several reasons:
- Historically, it’s the most important route, running along the original transcontinental route.
- The route is the most popular of Amtrak’s transcontinental routes.
- The route passes through the full spectrum of American geography: from prairies in the midwest, to the Rocky Mountains, to the deserts of Northern Nevada, to the Redwood Forests of Northern California, before ending the journey at San Francisco Bay.
Pro-tip: If you’re unsure of which route to choose, go with the crowd and take the California Zephyr. However, if you’re into mountain views, consider the Empire Builder, which heads through Montana and the Pacific Northwest. Alternatively, if desert landscapes are your jam, the Southwest Chief and Sunset Limited might be alternative picks worthwhile to consider.
How to purchase or redeem points for your journey
Now that you’ve figured out which route to take, and have selected which class to choose, it’s time to reserve your ticket. You have two options:
Option #1: Buy the ticket outright
Buying a cross-country train ticket is just like buying a plane ticket. Simply navigate to amtrak.com, enter in your origin and destination, and hit search. To get a sense of how much you can expect to spend for a roomette, I did a quick search for a trip from DC to SF around July 4th weekend, and found this:
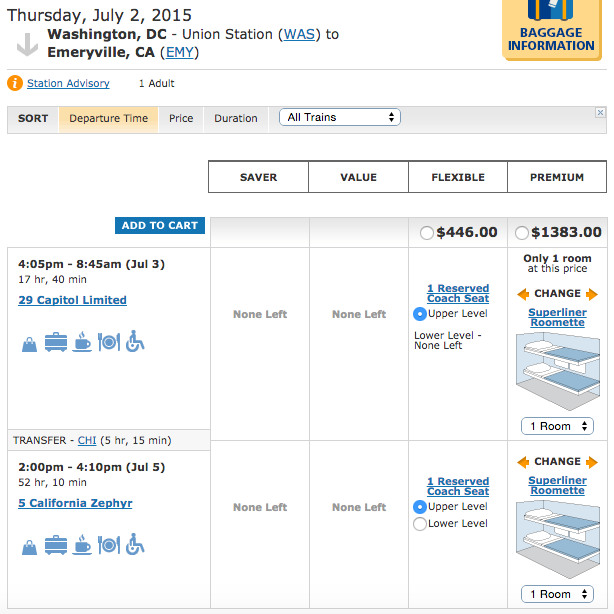
Purchasing an Amtrak ticket is just like buying a plane ticket!
Obviously, for most of us, dropping $1400 for a room to spend 3 days on a train WITH NO WIFI and LIMITED 3G/4G/LTE service (at least with Verizon) is ridiculous! Thankfully, there’s another option.
Option #2: Use points to book your journey.
As of this writing, a roomette from the East Coast to the West Coast costs 35,000 Amtrak points, or if you’re splitting the room with a friend, 17,500 points/person. For journeys originating in Chicago and terminating on the West Coast, a roomette will cost 20,000 Amtrak points, or alternatively 10,000 points/person. For a more detailed summary of how much it’ll cost, check out this great summary: A Complete Guide to Booking Train Travel.
Amtrak is a transfer partner with Chase Ultimate Rewards. To book your journey via points, simply accrue points via credit card sign-ups or credit card spend, then transfer how much you need.
- Login to Your Chase Account, then select the “Ultimate Rewards,” located on the right side of your window.
- Once you’ve been redirected to the Chase Ultimate Rewards portal, click on “use points” located on the top toolbar, then select “Transfer to Travel Partners.”
- Scroll all the way down the list, and select “Amtrak Guest Rewards.”
- Enter in your Amtrak account information, then enter in many points you need to redeem for your cross country journey. Transfers to Amtrak happen instantly.
- Navigate to Your Amtrak Guest Rewards Account to redeem your points.
Okay, now that you’ve booked your trip, it’s time to prepare for your journey.
How to pack for your long distance train journey?
I stayed in a roomette, so if you’re staying in a bedroom or in coach, some of my tips may not apply.
Packing for a train journey is similar to airline travel in some respects: you can check luggage through to your final destination, or bring up to two carry ons. Since I was traveling mainly for the journey and less so for the destination, I opted to bring one carry on: my Osprey.
While the roomette may seem relatively spacious when the seats are up, space gets pretty limited when the seats are turned down by the attendant to become beds. Once turned down, the only space you’ll have to place your stuff will either be on the bed, two hooks on the wall to hang stuff, and a pocket closet to store one or two light jackets. So, to save you the trouble of having to go back and forth to your stored luggage (located in your carriage, but not in your room), I’d suggest the following:
- Bring a backpack that stores a lot of stuff, that can be hung on a hook.
- Bring a pair of flip flops for walking around the train, as well as for the showers.
- Pack a bag of toiletries, and place these in your backpack.
- Pack an extra power adapter; each roomette only has one plug, so having an adapter will give you more options to charge your devices.
Capitol Limited: A Review
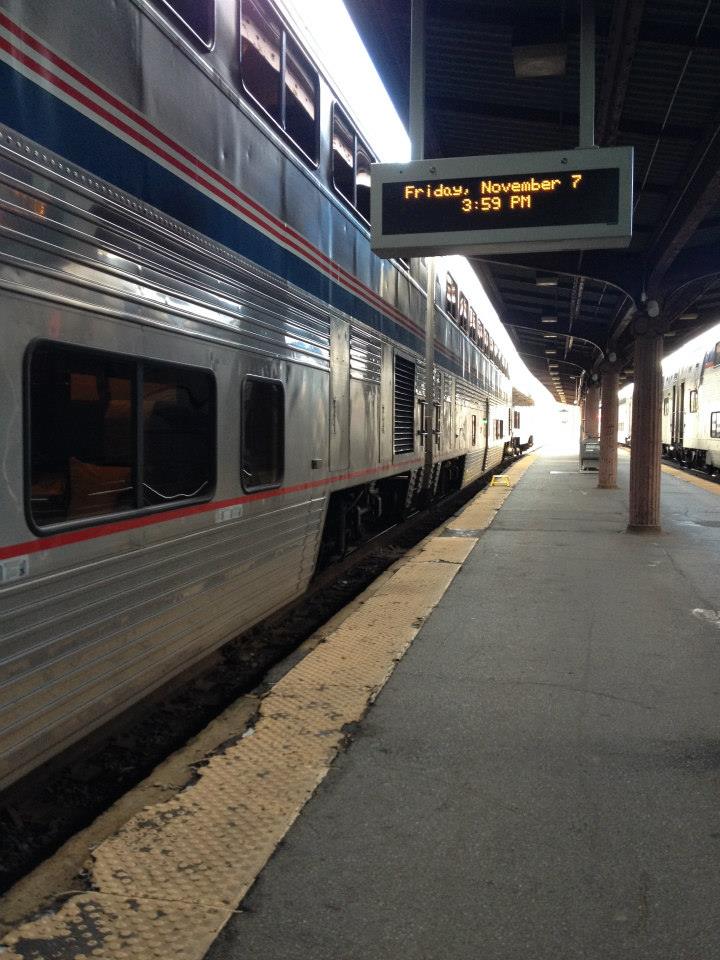
#29 Capitol Limited
Depart: 4:05pm from Union Station, Washington, DC
Arrive: 8:45am at Union Station, Chicago, IL
Duration: 17 hr, 40 min
Overview
This journey, which lasted almost a full day, went by really quickly. Departing from DC in the afternoon, the journey takes you through Maryland, Western Pennsylvania, Ohio, Indiana and ends at Chicago. Take advantage of sightseeing while the sun is still up; once it sets, you won’t be able to see much outside beyond the faint moonlight reflecting off the wilderness (which itself can be pretty awesome!).
Tips and Comments:
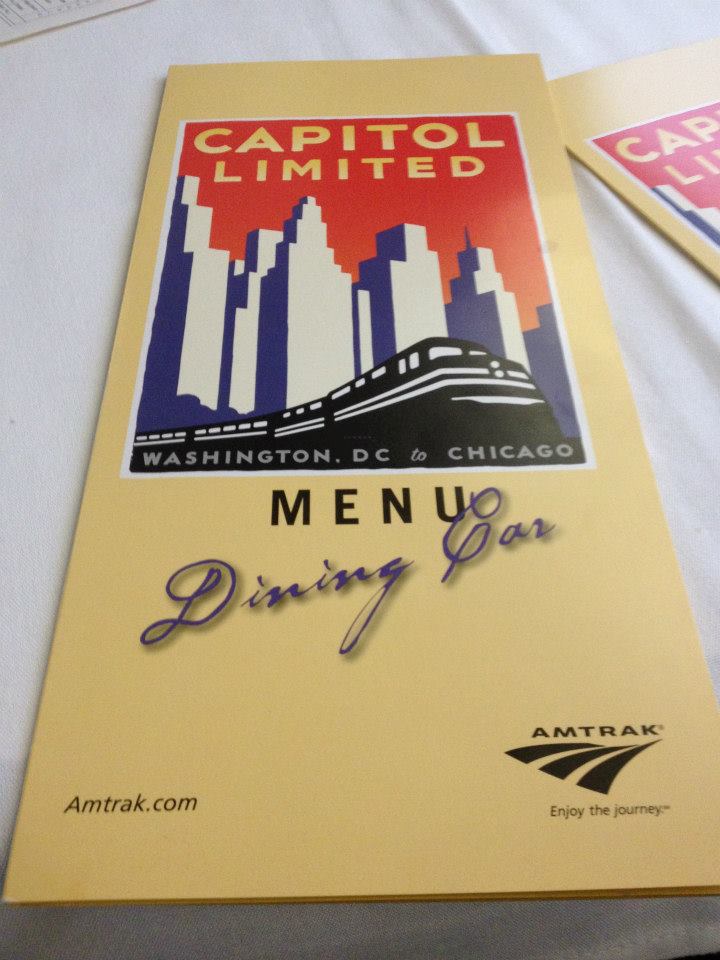
- Your Attendant: Each carriage is served by one attendant. After settling into your roomette, your attendant will introduce him or herself, and ask for when you’d like to have dinner, which is served in the dining car.
- Dining on the train: Dinner hours are generally 5 – 7 pm, and are divided into 30 min time slots. However, if you end up chatting with another passenger or want to linger, it’s totally okay if you stay in the dining room longer than your designated time.
- Turning down your bed: Instead of trying to figure out how to turn down the seats into beds, have the attendant do them for you. He or she can be easily found, either in their room at the front of the carriage, wandering around in the train, or by pressing the call button in your roomette.
- Accessing the internet: Some long distance Amtrak trains don’t have internet access, including the California Zephyr and Capitol Limited, so unless the route is near a town or city (where you can probably catch a data signal), you won’t have internet access. Some, including myself, found this a perfect way to unplug, read a book, or simply watch the changing landscape of the American heartland pass me by.
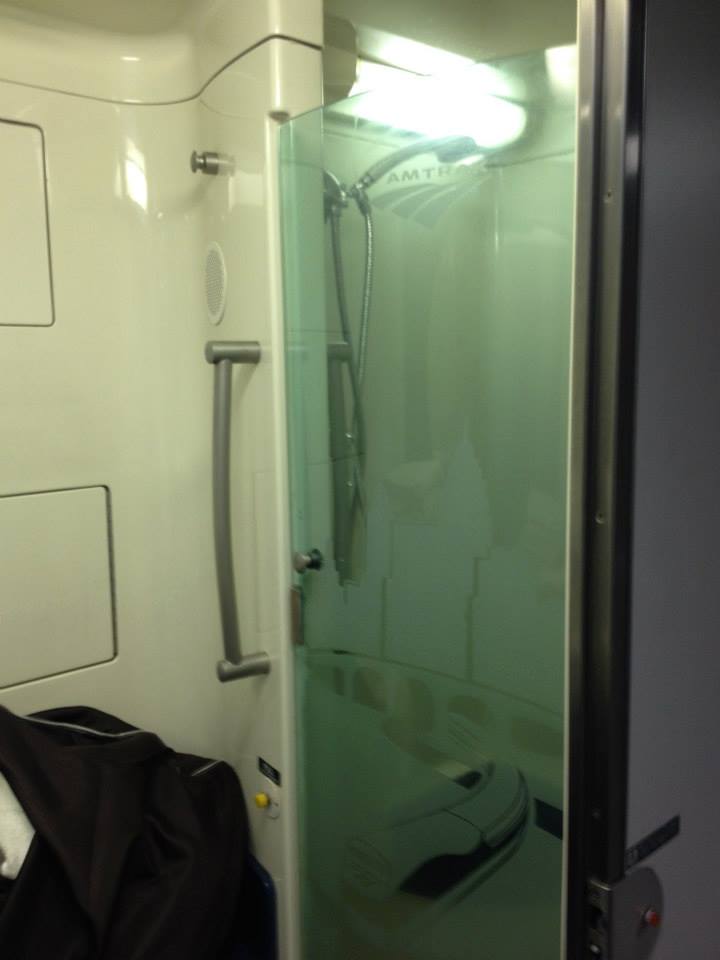
- Showering on the train: Each carriage has 2-3 bathrooms with your standard toilet and sink, the layout of which resembled the bathrooms you find on planes. In addition to the bathroom, each carriage also has 1 private shower room. Surprisingly, although shared, I never had to wait for someone to finish showering; it was always free and available to use whenever I needed to use it.
Now, on to the journey itself!
The journey (in pictures):
Waiting to leave Union Station
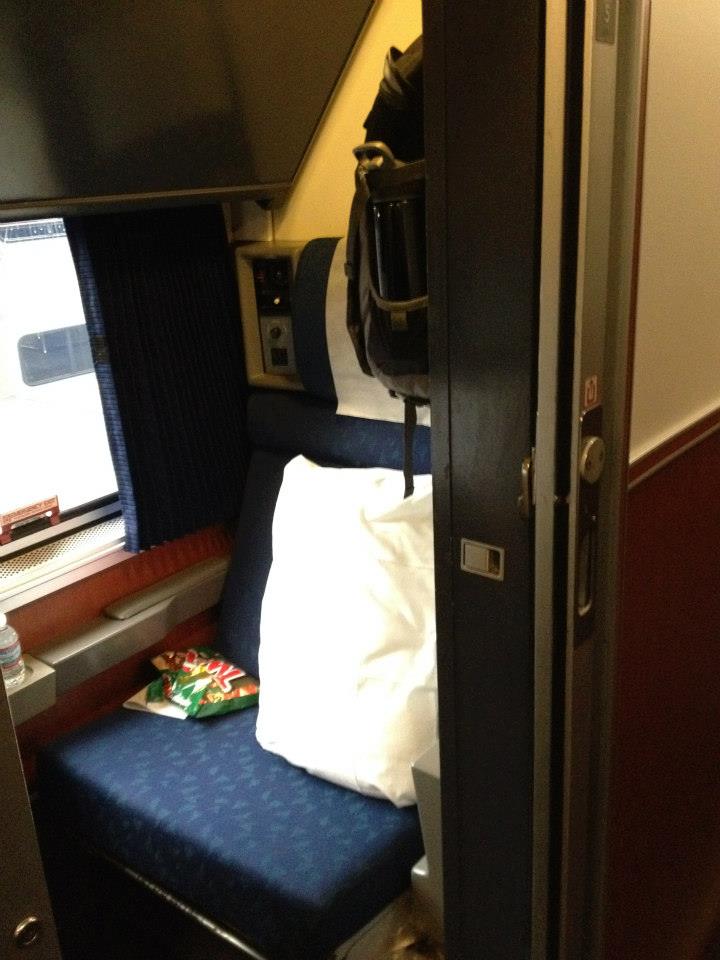
A side view of the roomette. Notice my backpack hanging on the hook.
Dusk somewhere over Northwest Maryland.

The dinner menu.
I had the steak.

A view of the shower. First time taking a shower on a train!
View from the window. Waking up somewhere over Northern Indiana.

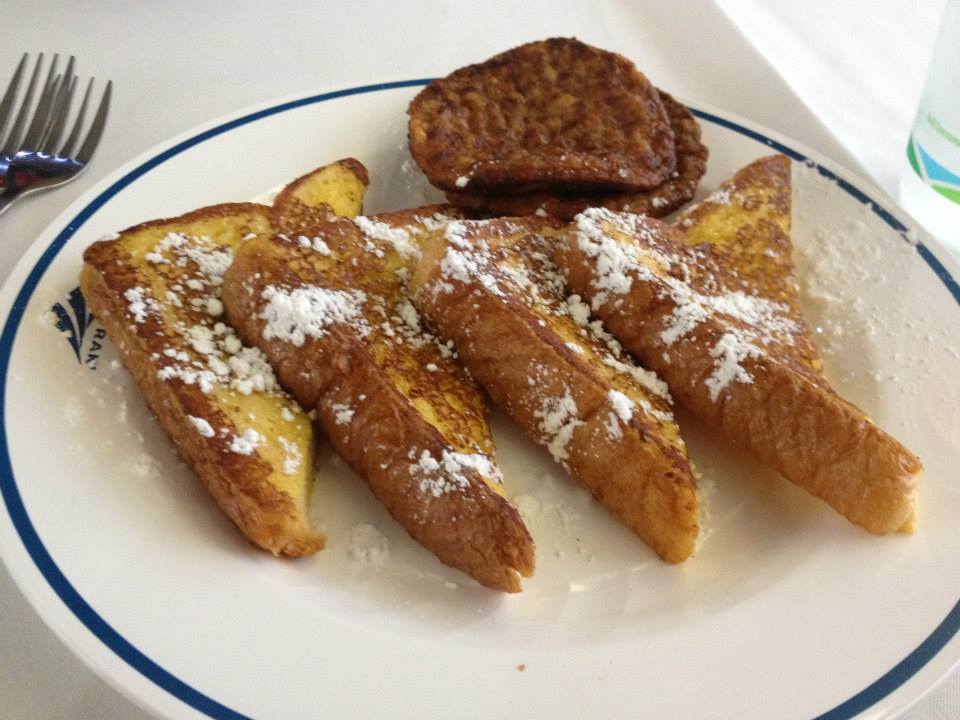
For breakfast, I had the french toast.
Capitol Limited: Conclusion
If I had to do this trip over again, I would probably skip this leg. Aside from the novelty of saying I’ve crossed the country from coast-to-coast, there wasn’t anything in particular in terms of scenery that was outrageously gorgeous.
That being said, it was my first time passing through the Midwest, which, as someone that has never truly explored the midwest besides stopovers, gave me a good sense of just how flat parts of the country really are! If you aren’t continuing on to California and Chicago is your final destination, use the time on the train with limited internet access to unplug: read a book, write something, listen to some music, talk with other passengers. It’s a great experience!
California Zephyr: A Review
#5 California Zephyr
Depart: 2:00pm from Union Station, Chicago, IL
Arrive 4:10pm at Emeryville Station, Emeryville, CA
Duration: 52 hr, 10min
For those that are going straight through from DC, you’ll have a five hour layover in Chicago. If you’ve never been to Chicago, the stopover gives you enough time to check out the city. Some spots I’d highly recommend are:
- Heading to Adler Planetarium, for awesome views of the Chicago skyline
- Checking out “The Bean,” and if you’re into art, the nearby Art Institute of Chicago.
- Taking in the views atop the John Hancock Tower or the Willis Tower.
- Eating a deep dish pizza at Giordano’s.
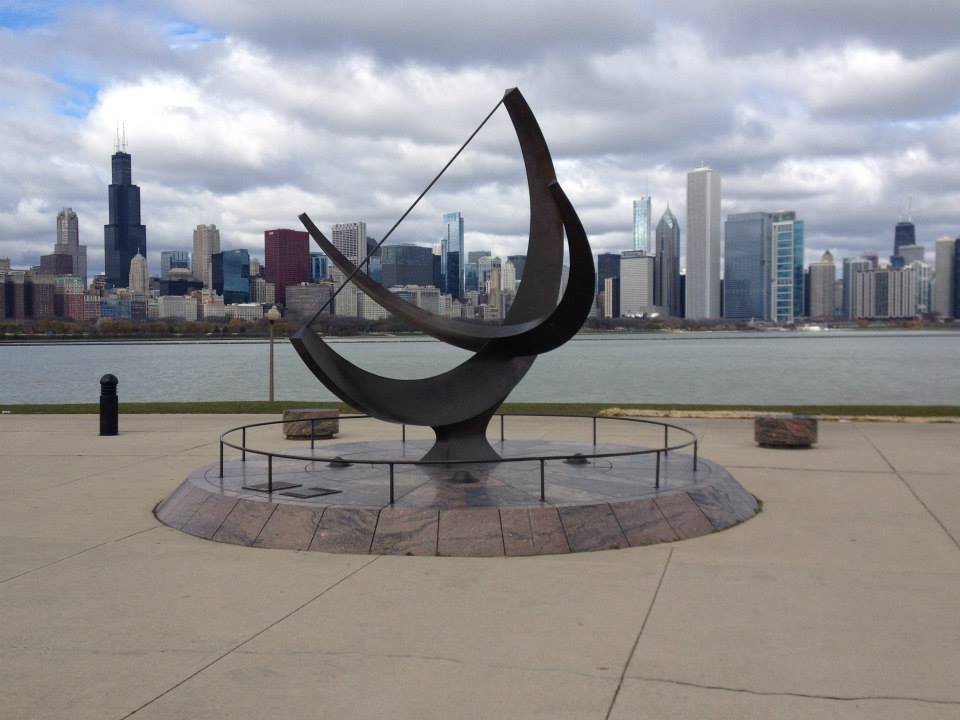
Chicago Skyline from Adler Planetarium
Once you’ve checked out Chicago for a few hours, it’s time to head back to Union Station. The journey from Chicago to San Francisco takes a little over two days, and is well worth the experience.
Tips and Comments:
In addition to all the tips I mentioned for the Capitol Limited, which also apply on the California Zephyr, some tips and comments specific to this route are:
- Take the train from Denver. If you’re strapped for time, save yourself a day by flying into Denver directly. The journey between Denver and San Francisco via Salt Lake City takes a little over a day, and passes through arguably the most scenic portion of the entire transcontinental journey, including passing through the Rockies, riding along the Colorado River, and so much more.
- Get a roomette that faces south. One thing that I wished I had done before going on my journey was to inquire with Amtrak which side of the train the roomette was on. If I had to do the California Zephyr again, I would strongly try to get a sleeper with a southern-facing window. During my journey, we were in a northern-facing sleeper, which meant that we couldn’t see the sun setting. To maximize sunlight time and to catch a glimpse of the sun setting over the horizon, get the sleeper that faces south.
- Train delays do happen. It’s not uncommon for the California Zephyr or any other long-distance Amtrak train route to be delayed. When I rode the California Zephyr, the train arrived a bit late at several stops along the way to California. Surprisingly though, the train made arrived at Emeryville a full hour before schedule.
Now, on to the journey!
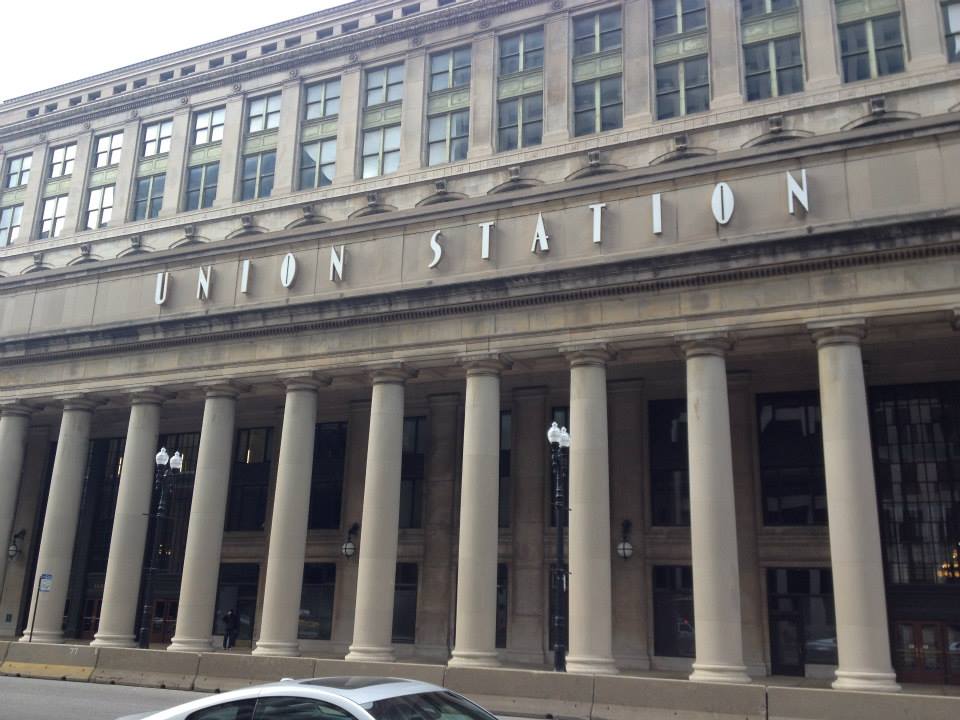
Beginning the journey at Chicago’s Union Station
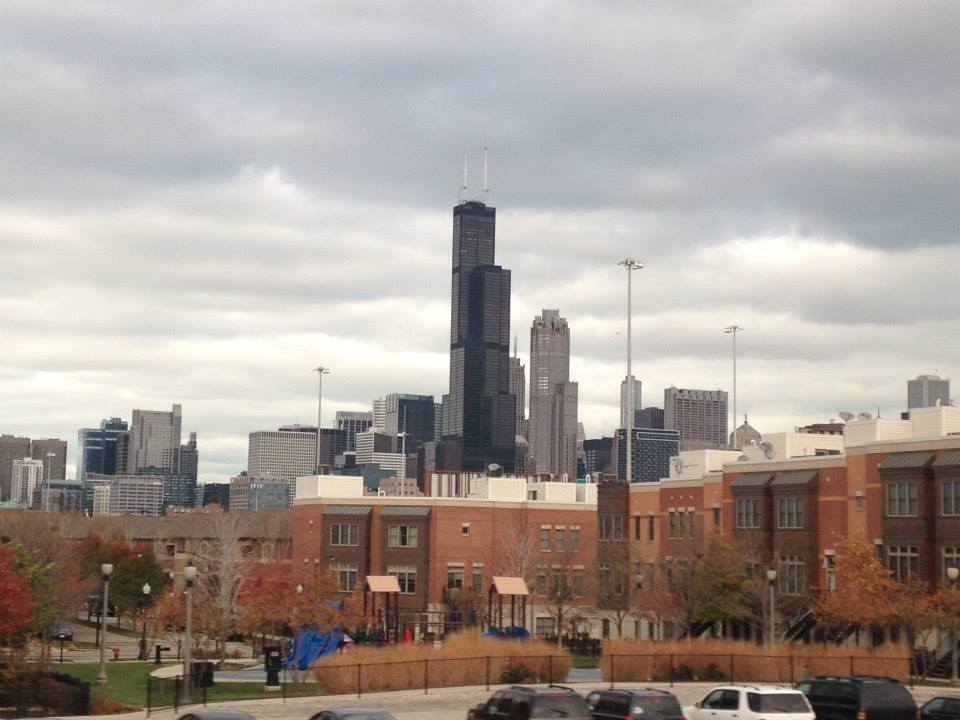
View of the Chicago Skyline as we begin the journey to California
Water tower somewhere over Northern Illinois

Whimsical skies somewhere over Northern Illinois

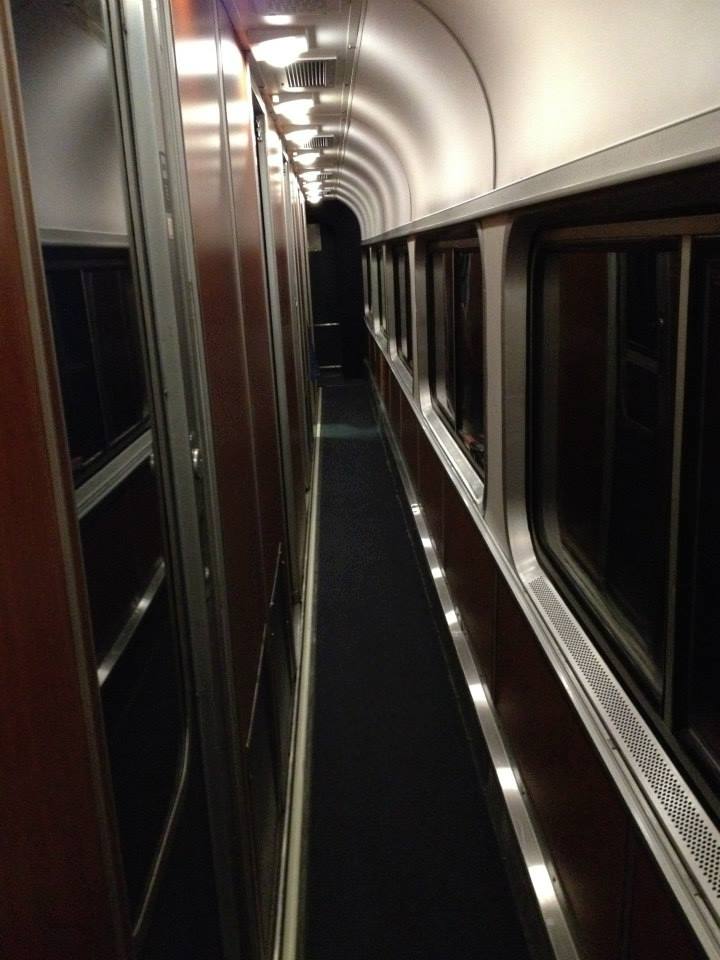
A corridor in the sleeping car at night
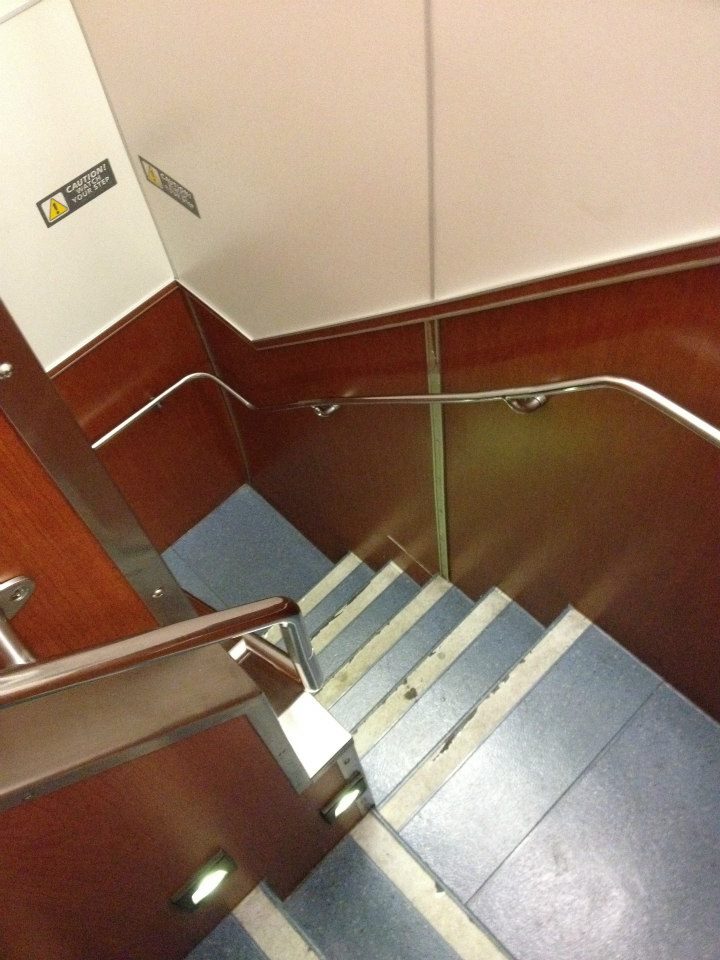
The staircase to the lower deck
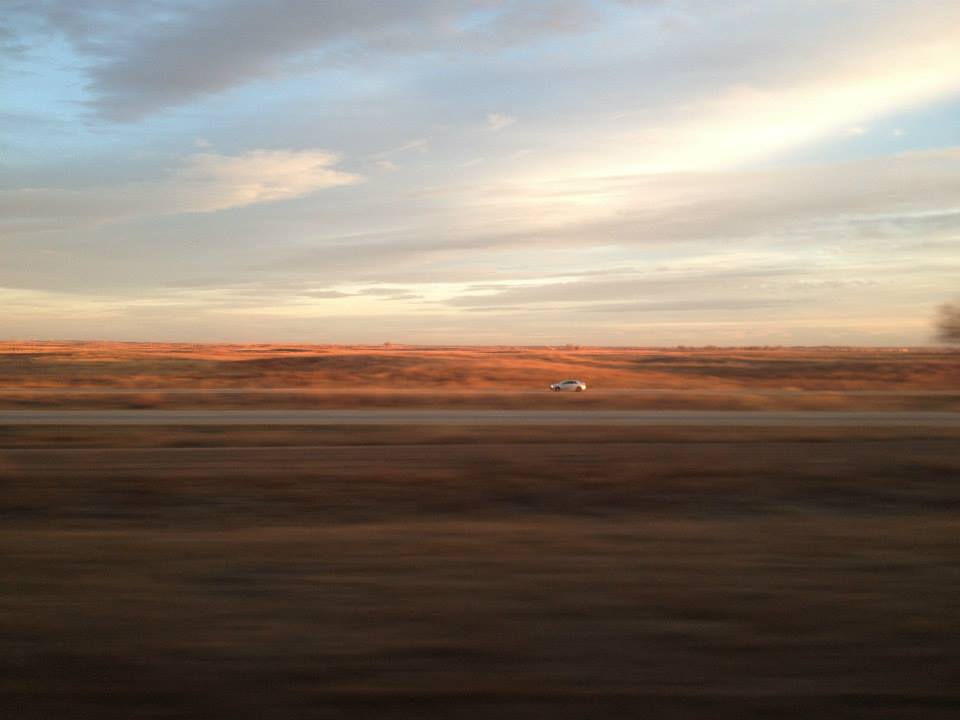
Waking up somewhere over Eastern Colorado.
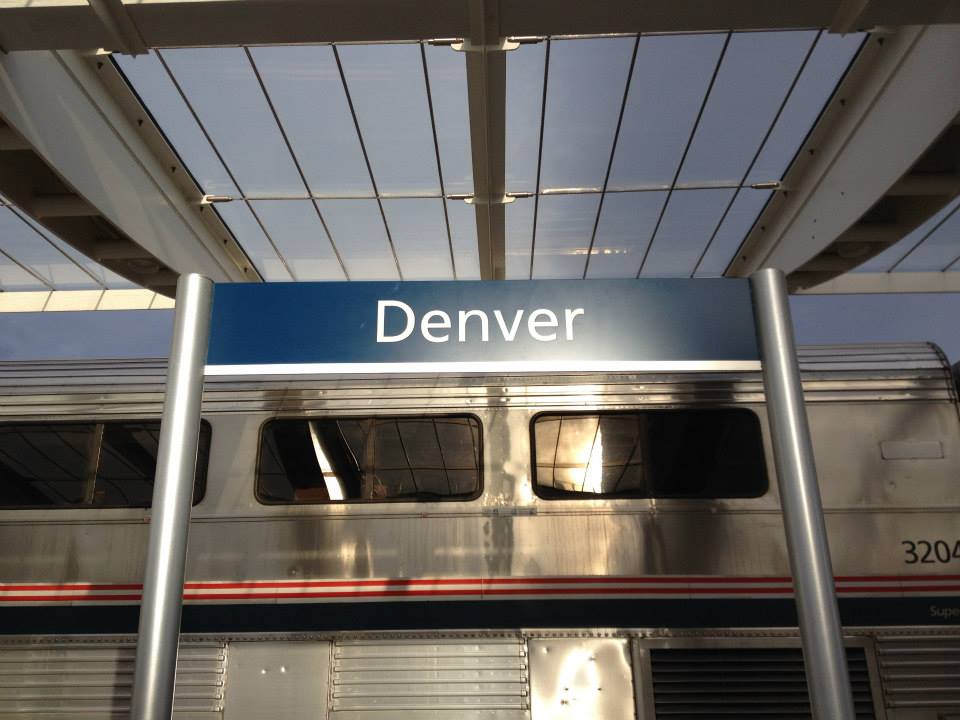
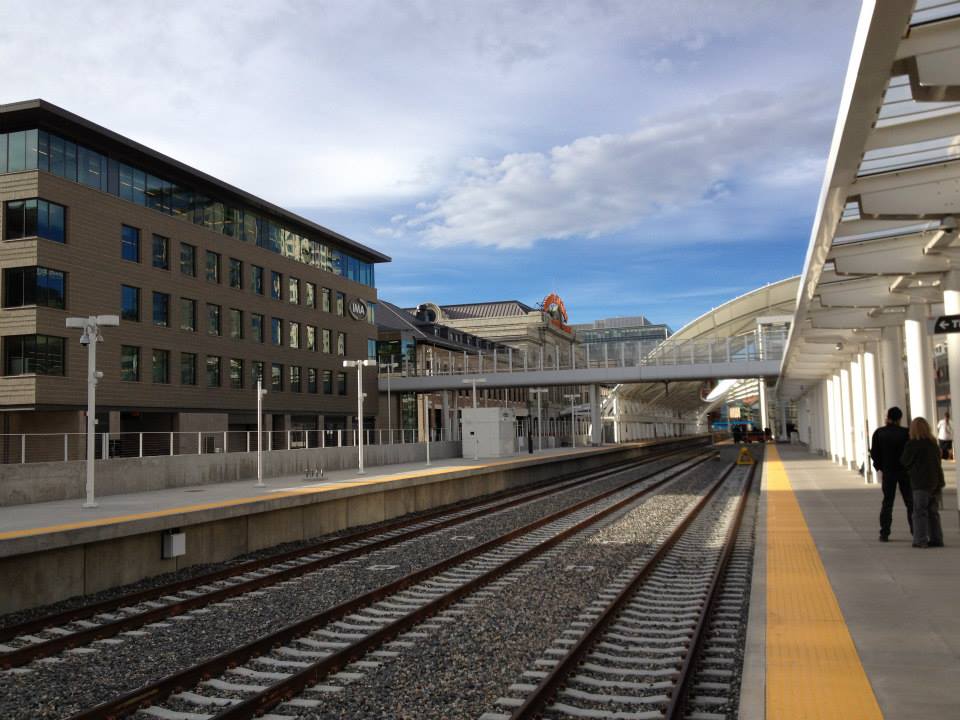
Stopover in Denver
Train tracks at Denver Union Station
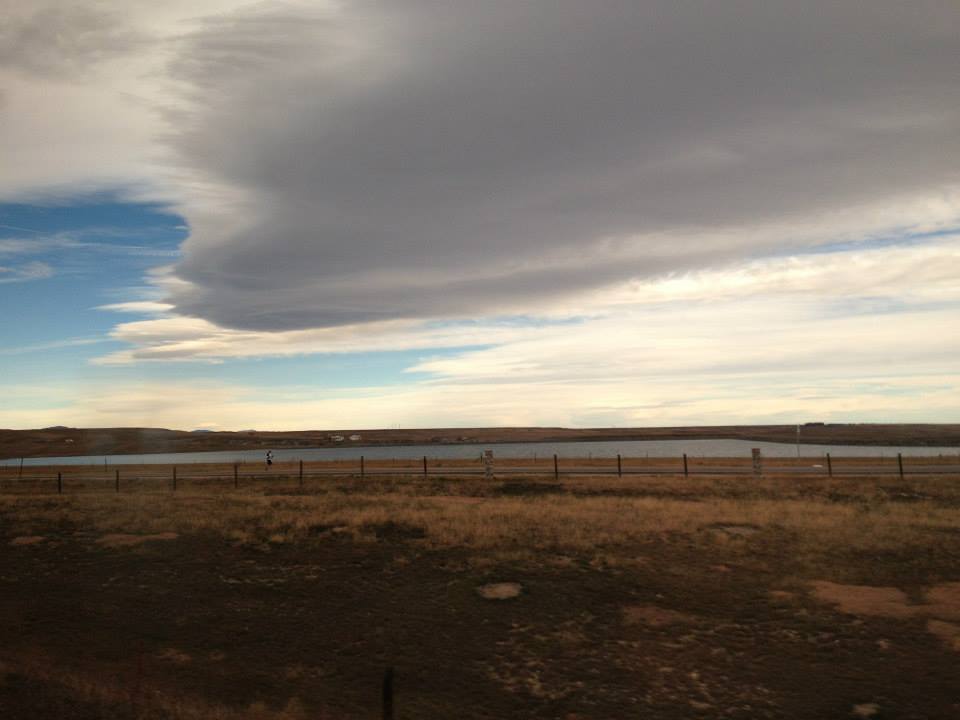
Ominous cloud formations just west of Denver
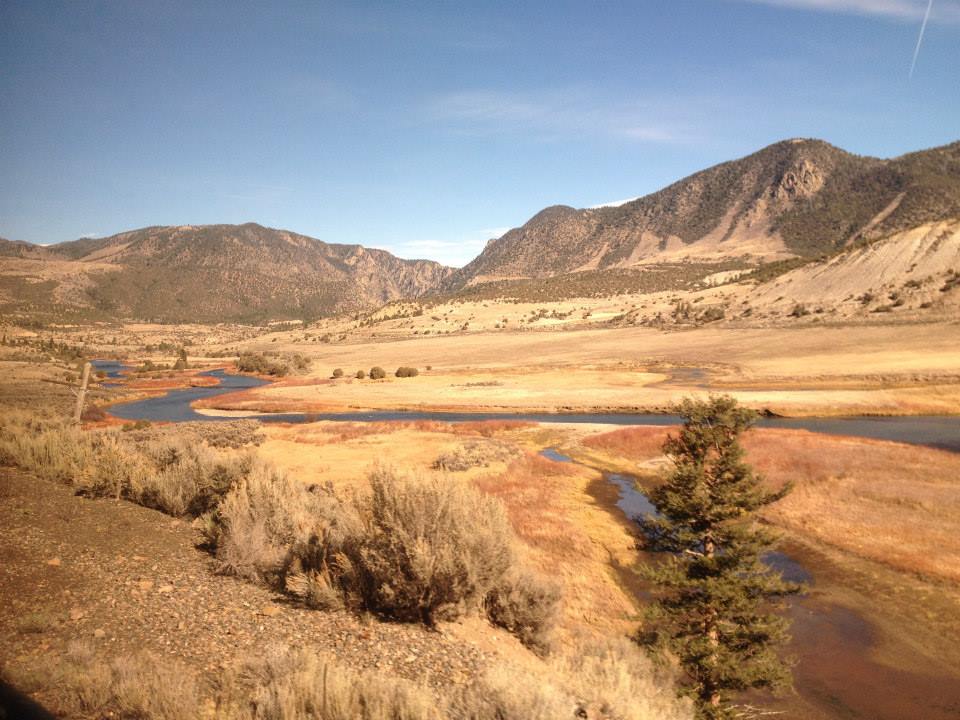
 View of the Colorado River
 A man fishing in the Colorado River

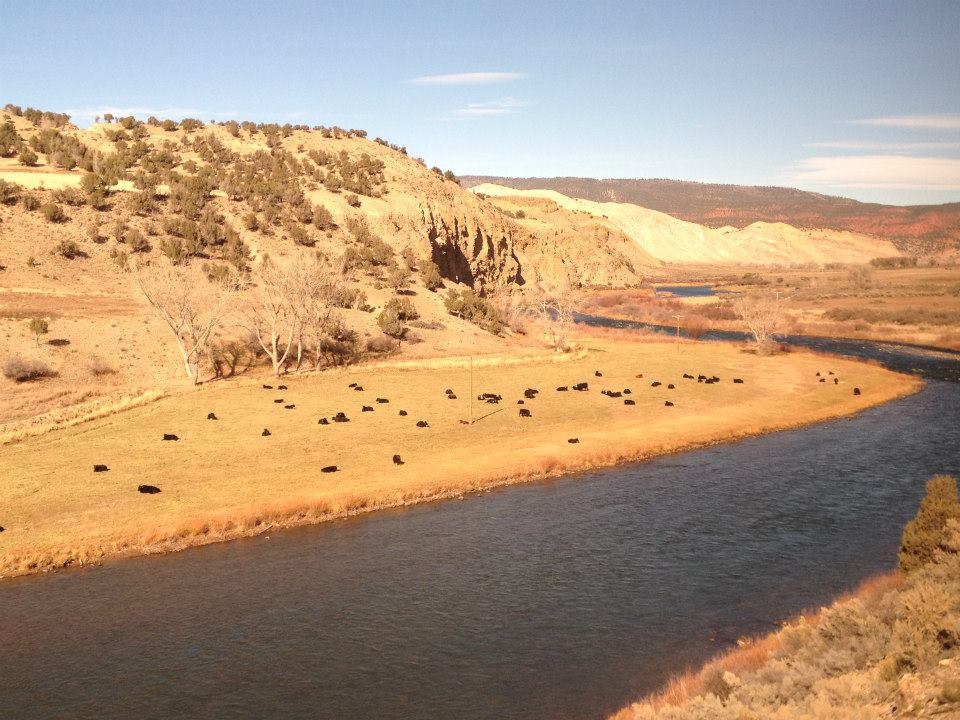
Cows along the Colorado River
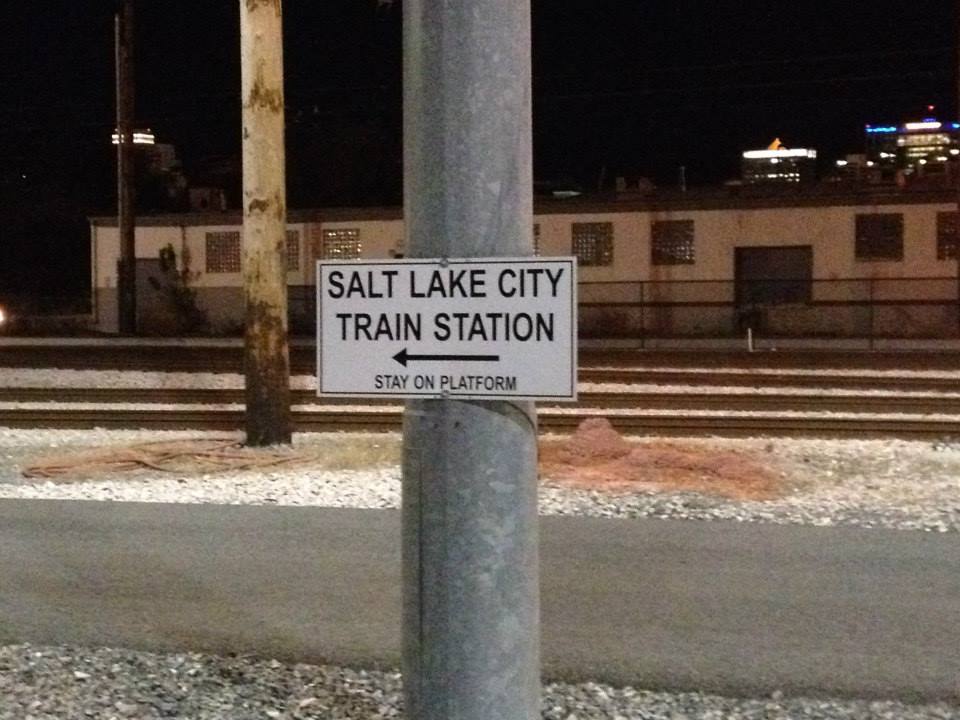
Stopover in Salt Lake City
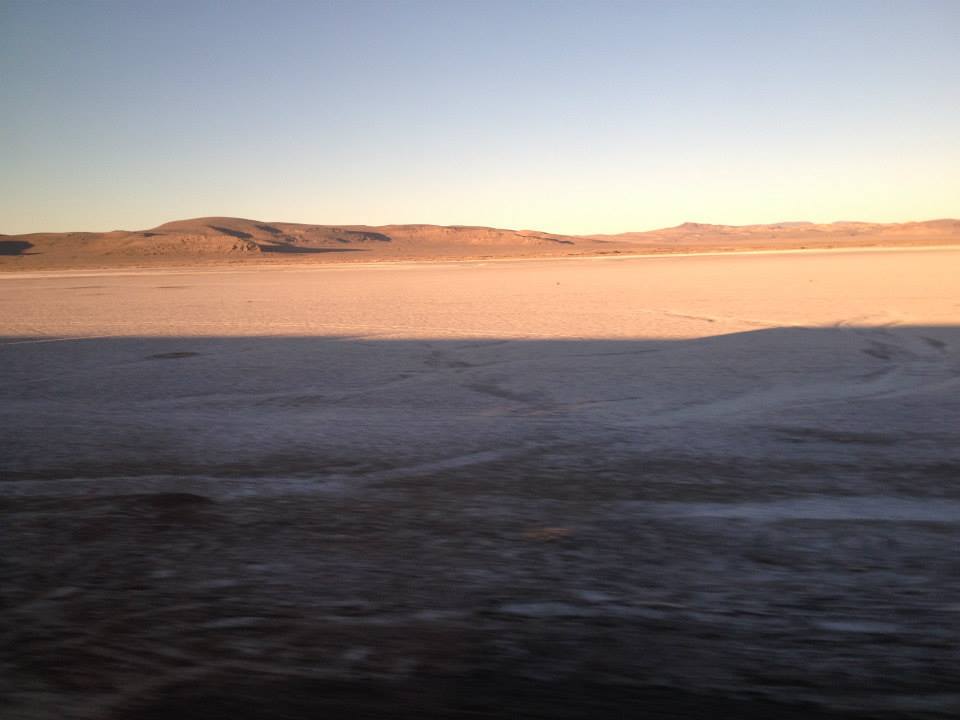
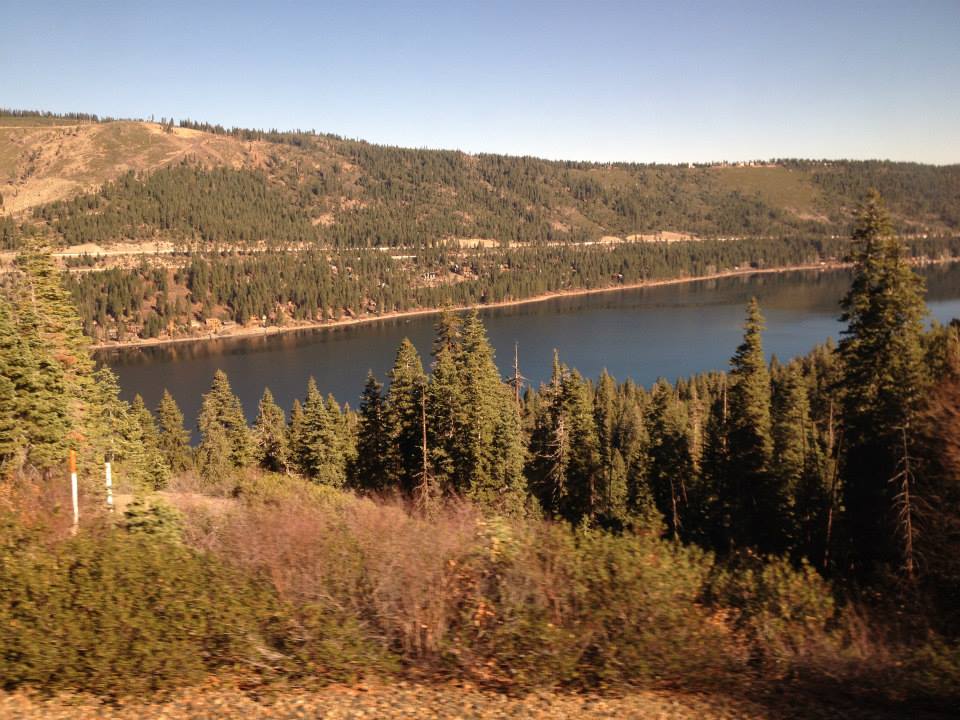
Waking up over the salt flats and deserts of Northern Nevada
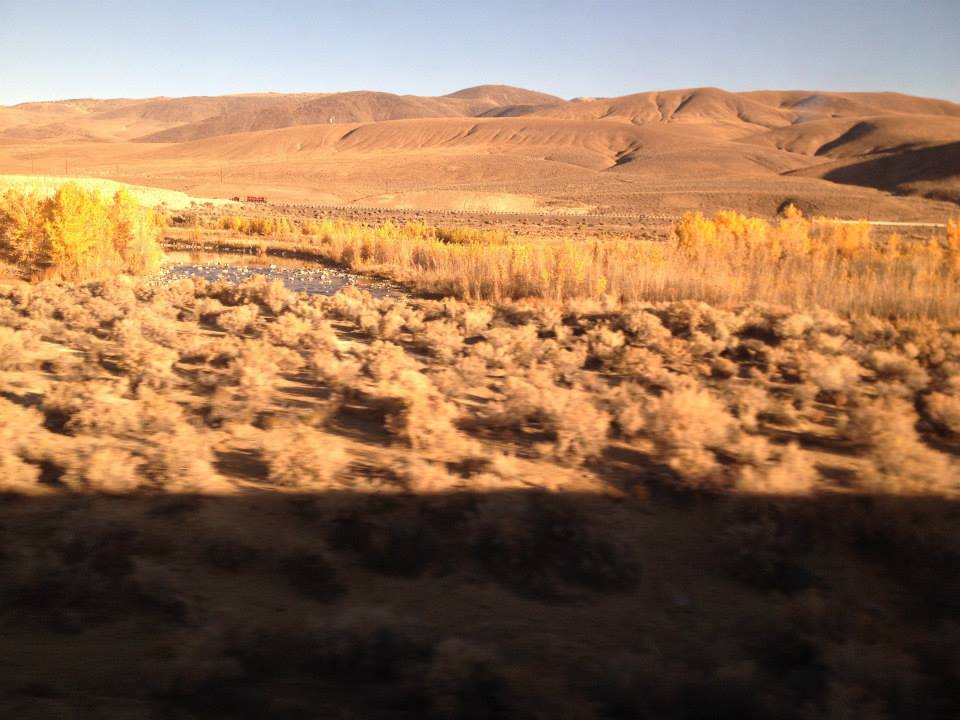
A river in the desert
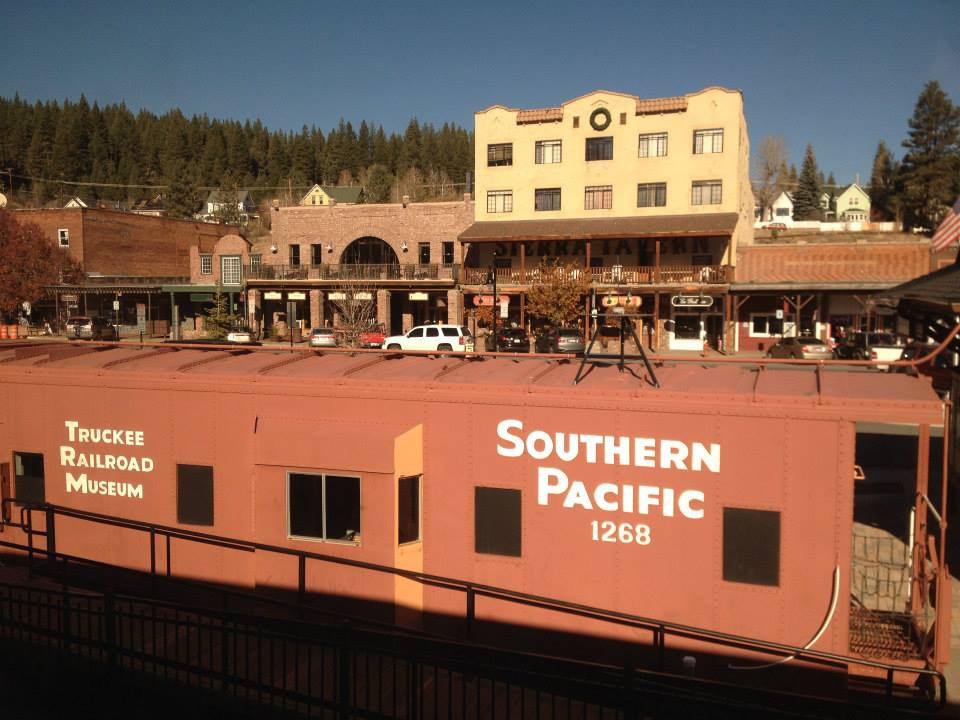
Stopover in Truckee, California
A river in Northern California
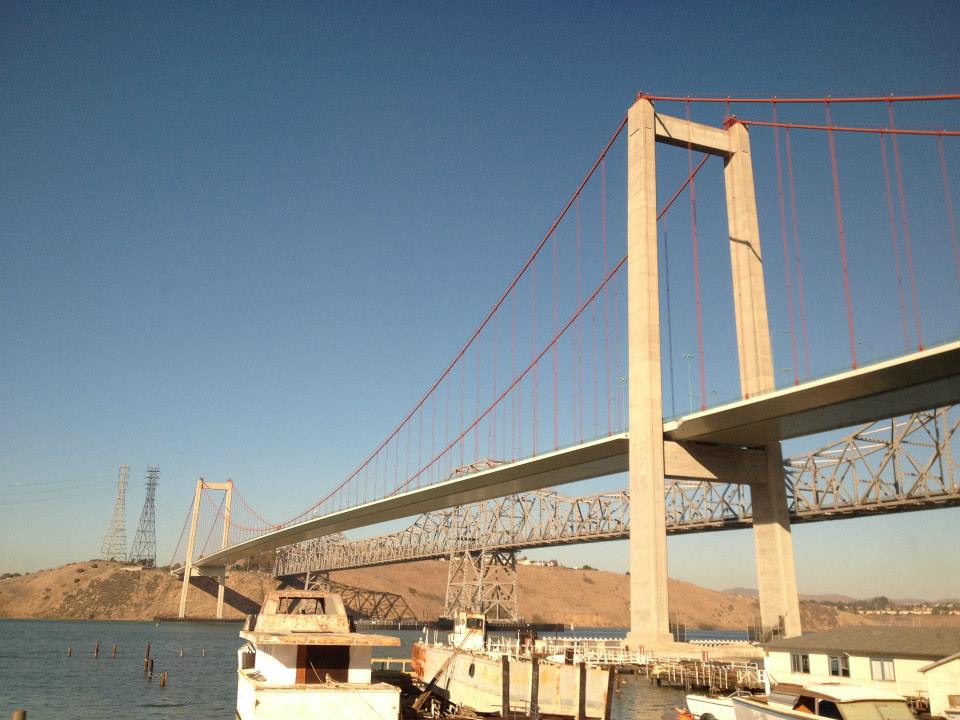
Passing under a bridge, near San Francisco Bay
I finally arrived at the Emeryville Station, our final destination!
California Zephyr: Conclusion
Although this was my first ever transcontinental route, the California Zephyr is a fantastic way to see America. In just over two days, you’ll see more of the country than most Americans ever will. Definitely an unforgettable experience. Highly recommend! Continue reading


