Every now and then I’ll get homesick for my hometown of Lahaina, located on the island of Maui. To many, where I’m from is synonymous with paradise. Having called the east coast of the U.S. home for nearly a decade, I can definitely agree with the phrase “lucky we live Hawaii” that I remember hearing so often on the local news.
Unlike many visitor guides, which tend to emphasize visiting and experiencing Maui’s natural beauty, I think they miss the mark on helping visitors truly understand the local culture, which, trust me, definitely exists! In this post, I’ll share with you the top 5 things to do in Maui like a local.
#1: Watch the sunrise over Haleakala
Okay, this is definitely cliche and many visitor guides will recommend you to wake up at 3:30 in the morning to make the 2-3 hour trek up the volcano to watch the sunrise. In the Hawaiian language, “Haleakala” means “House of the Sun,” and for many locals, watching the sunrise break above the clouds at over 10,000 feet on top of a dormant volcano is a deeply spiritual and moving experience. If it weren’t for the fact that I’d have to wake up super early, I’d do this each time I visited Maui.
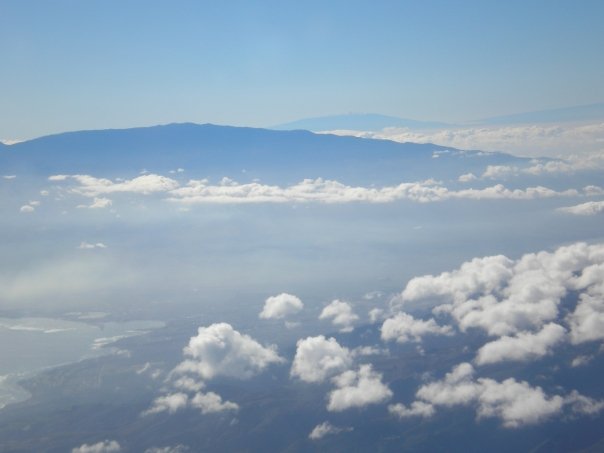
View of Mt. Haleakala. Mauna Kea on the island of Hawaii is off in the distance.
#2: Attend a football game at War Memorial Stadium.
I might be biased to recommend this since I was in the marching band throughout high school and played at this stadium frequently, but if you’re a visitor looking to get an authentic local experience, I’d suggest spending a Friday or Saturday night watching a varsity football game at War Memorial Stadium.
Maui has a total of 5 public high schools, 3 of which play their home games at War Memorial. This means that on any given weekend during football season, you should be able to catch a game. In Hawaii, there’s a big emphasis on which high school you’ve attended. When locals ask, “where’d you go to school?,” typically they’re asking about which high school you’ve attended, not college.
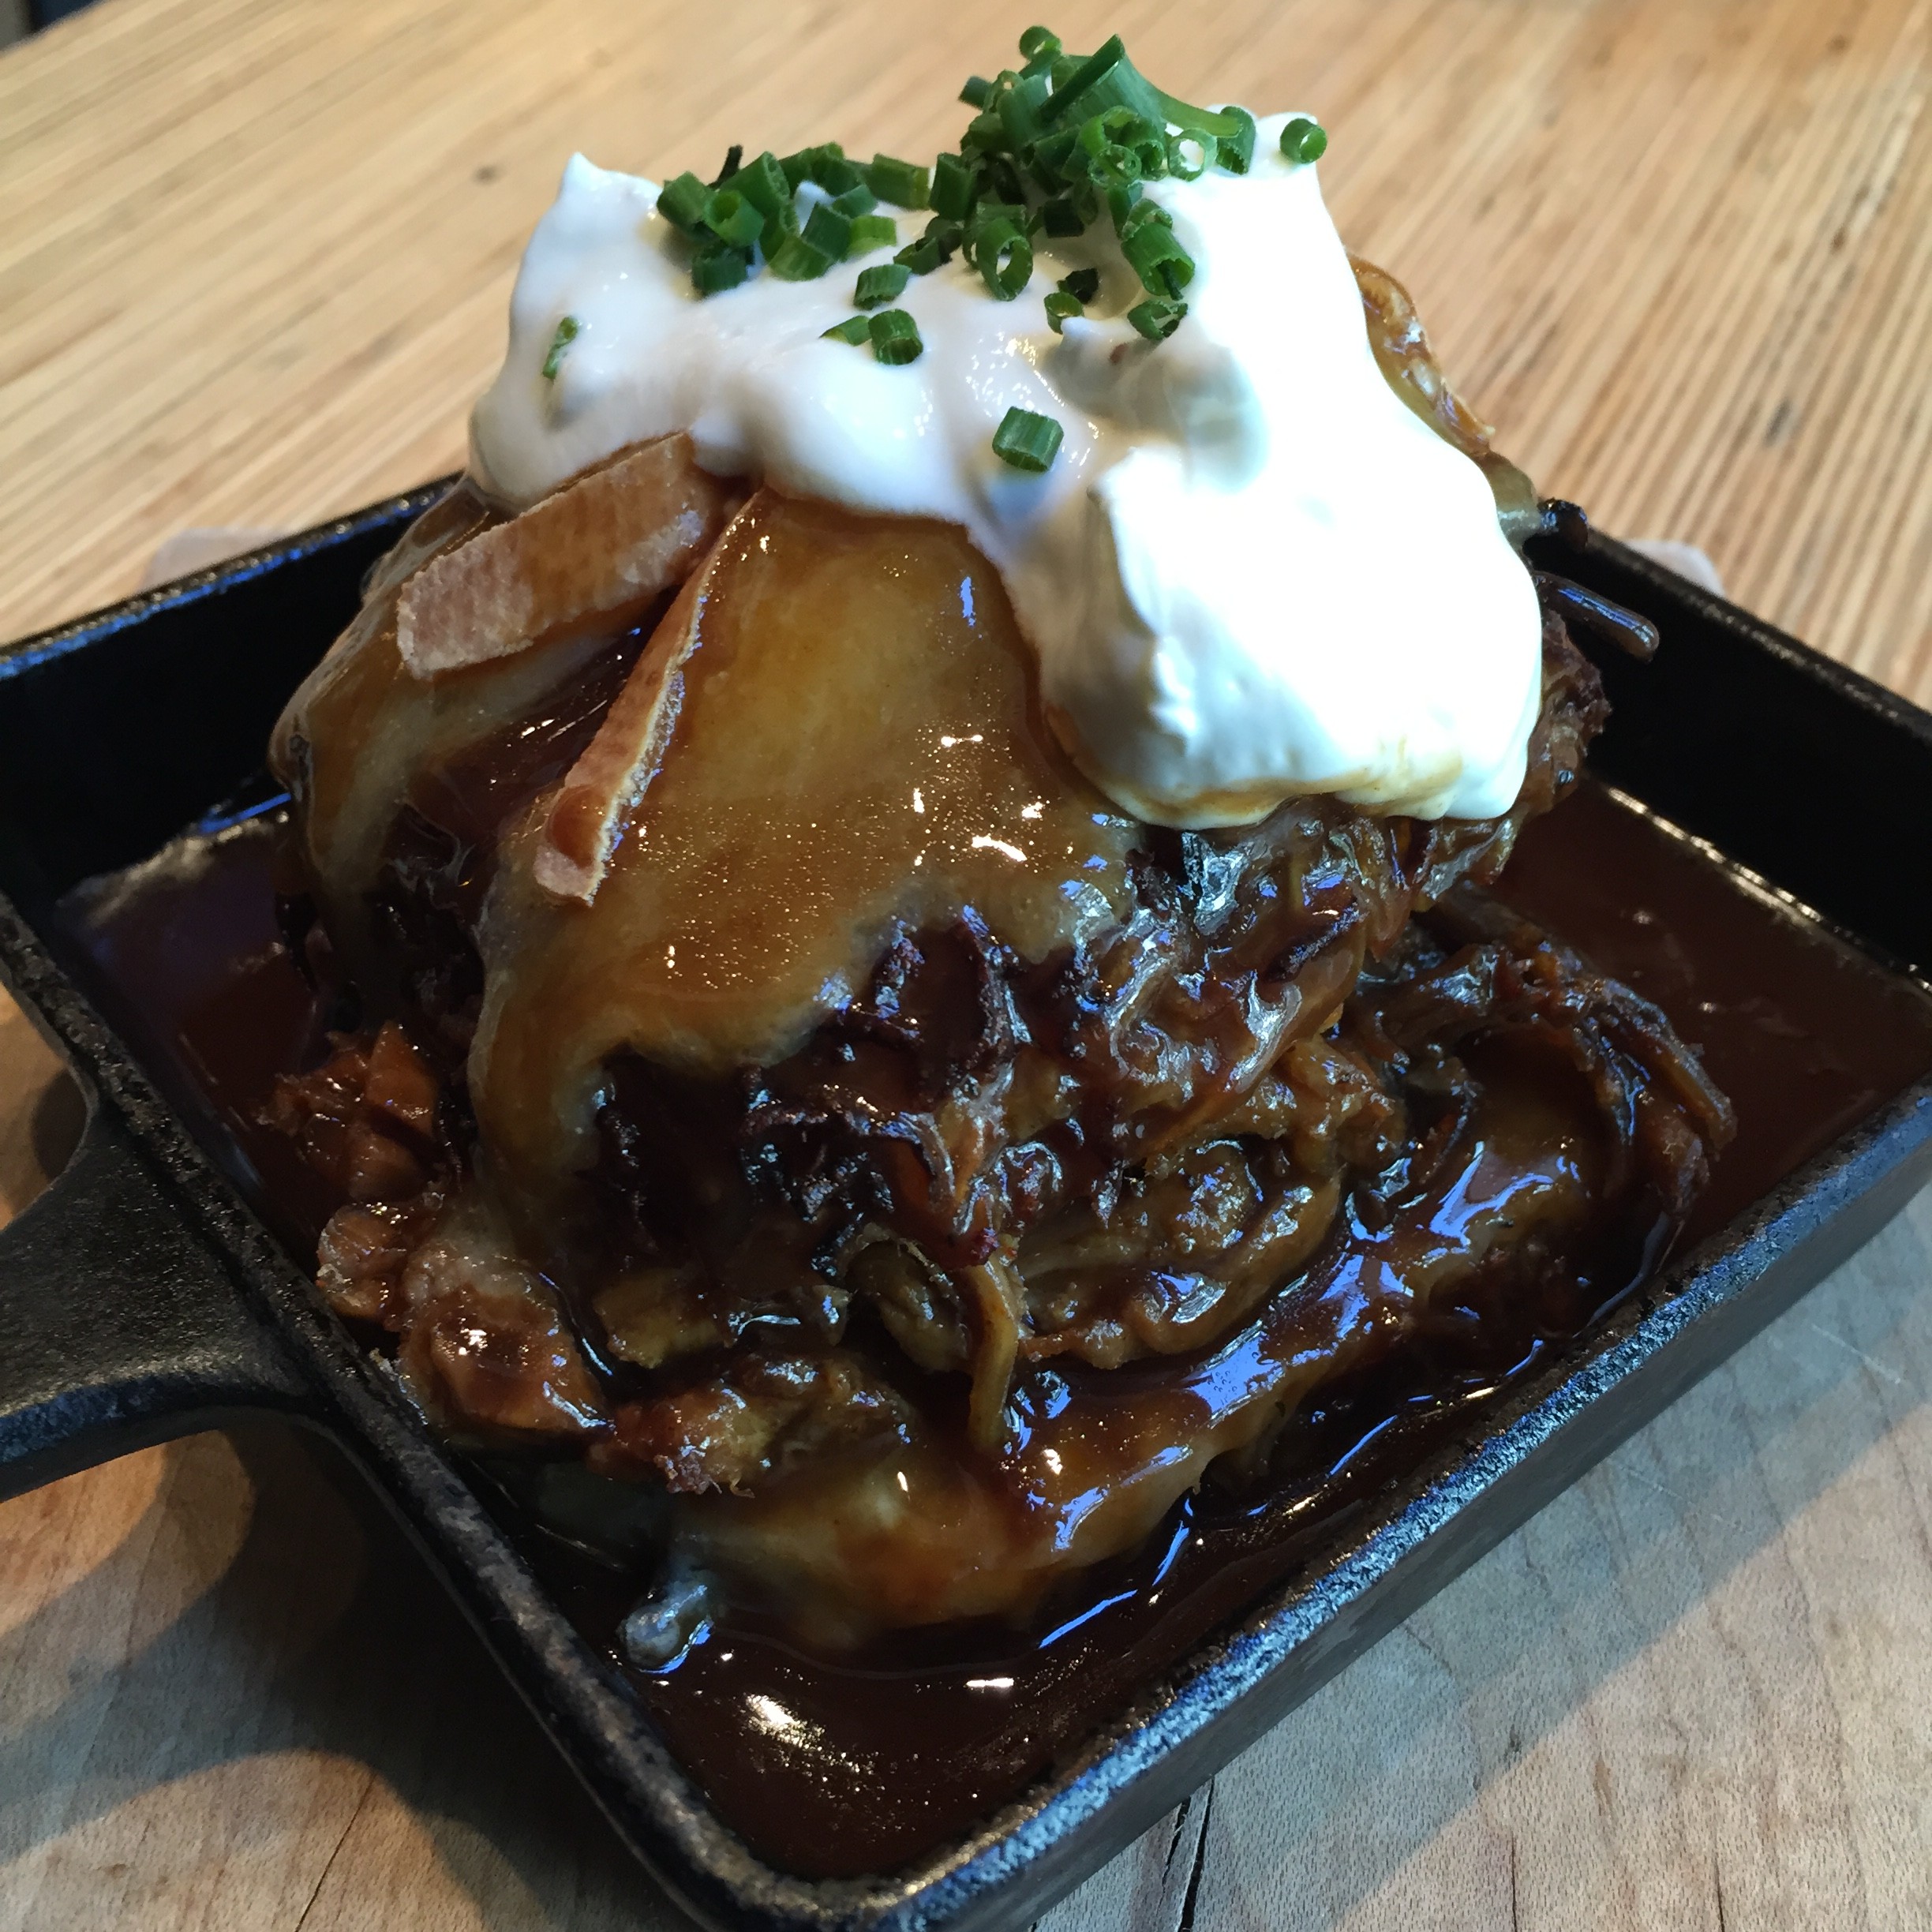
Even if football isn’t your thing, football games in my opinion are a great way to experience the local culture of Maui. At the very least, I’d recommend staying through halftime. It’ll give you enough time to order some local fare at the concession stands (i.e., Spam musubi – essentially a type of sushi consisting of rice topped with Spam and wrapped in seaweed) and watch the locals cheer with pride for their school.
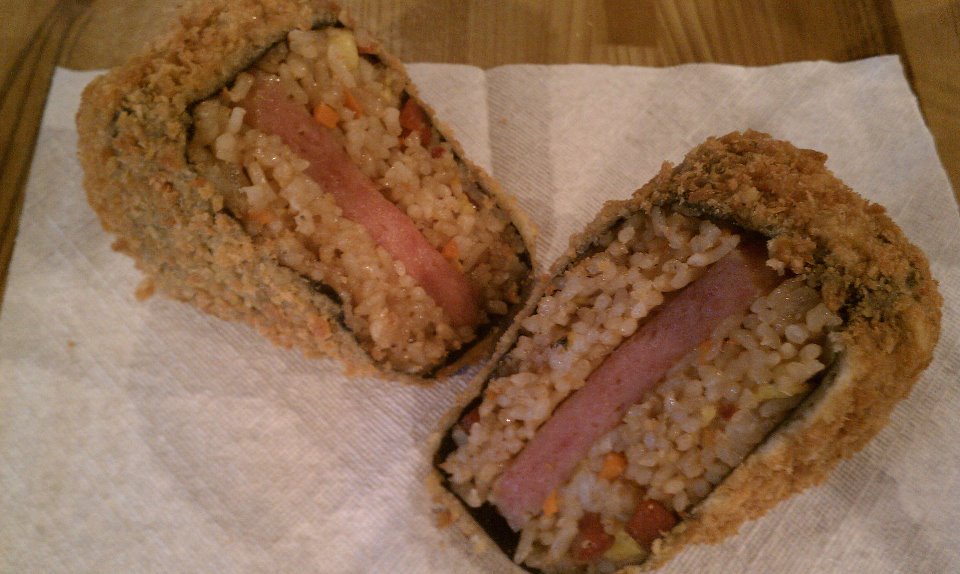
Deep fried spam musubi.
#3: Go on a whale watch tour in Lahaina.
If you’re visiting Maui during whale season, generally from December to March or April, you’ll notice that traffic will seem particularly bad if you’re heading towards the beach resorts of Ka’anapali and Kapalua on the west side of the island. That’s likely in part due to drivers driving slowly across the highway, a good portion of which hugs the coastline, in order to catch whales breaching the ocean surface.
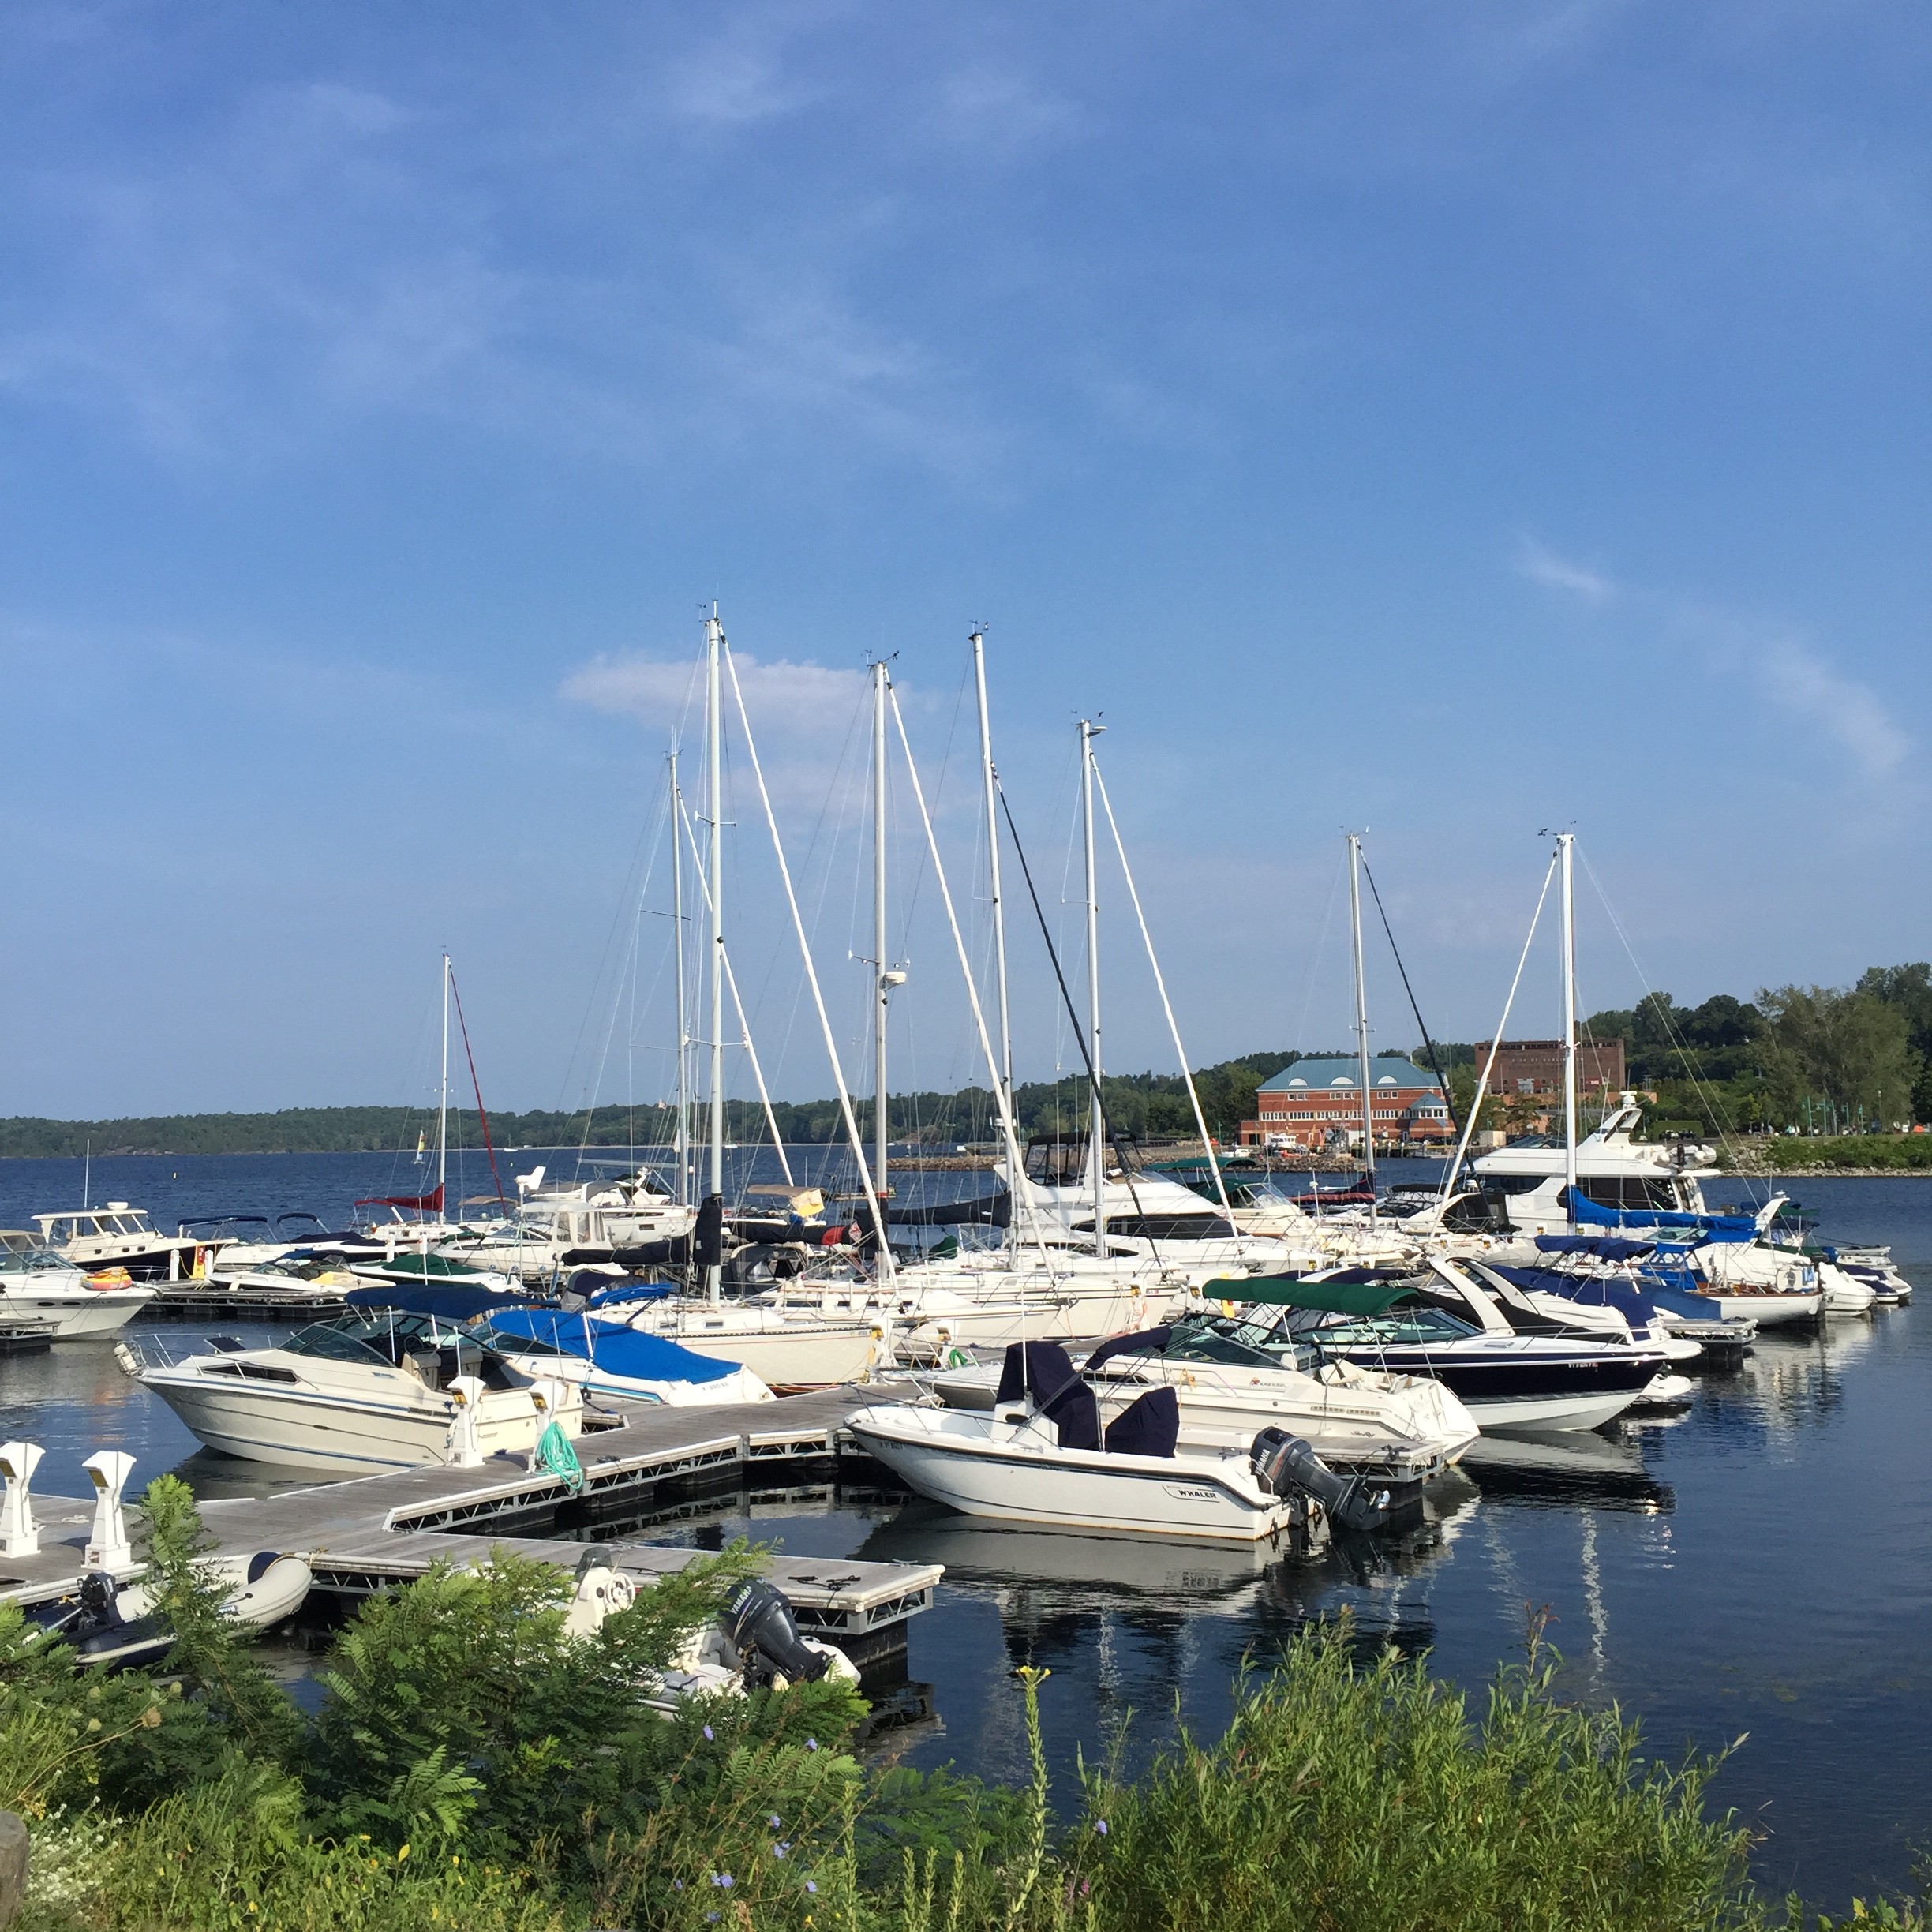
Instead of holding up traffic and potentially causing an accident, do yourself and everyone a favor by going on a whale watch tour, which you can easily find at the harbor in Lahaina. I’ve done so many of these as school field trips as a kid that I don’t bother doing them anymore whenever I go back to Maui, but for those that have never gone on a whale watch tour, I’d highly recommend!
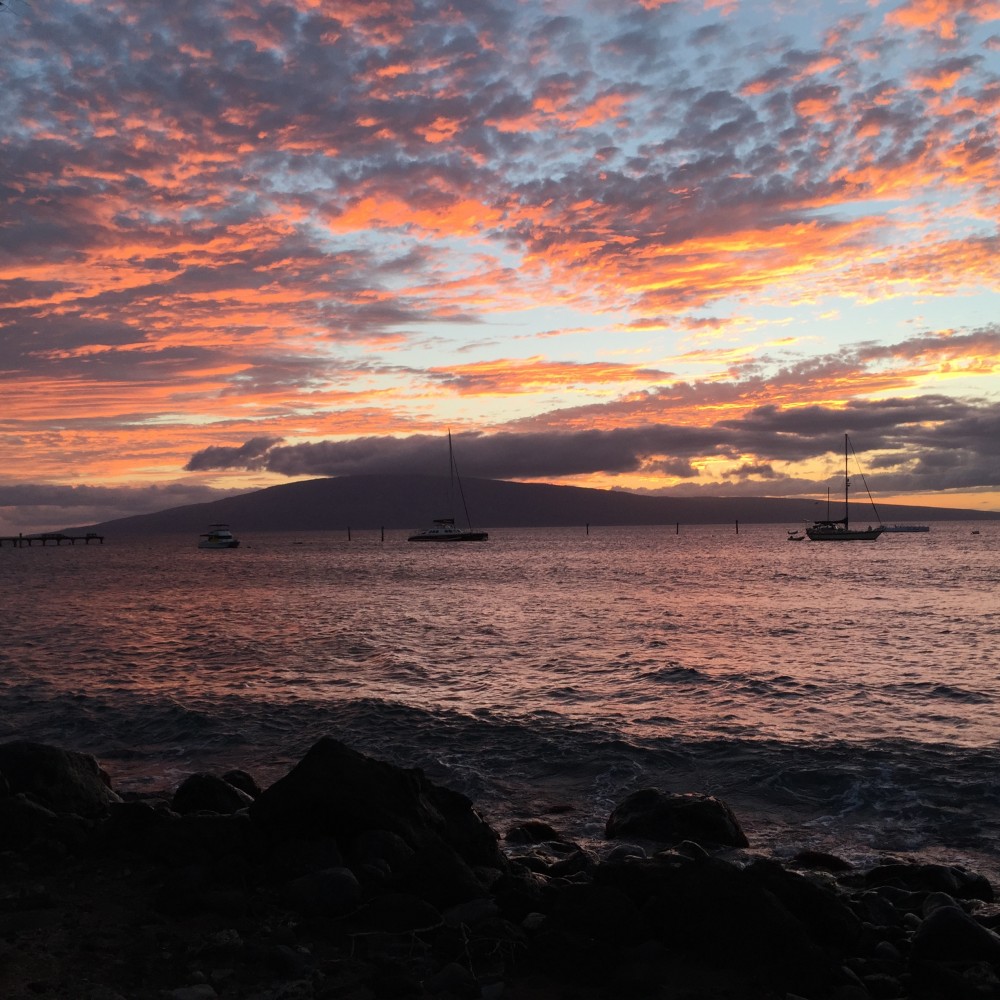
View of Lahaina coastline near Front St.
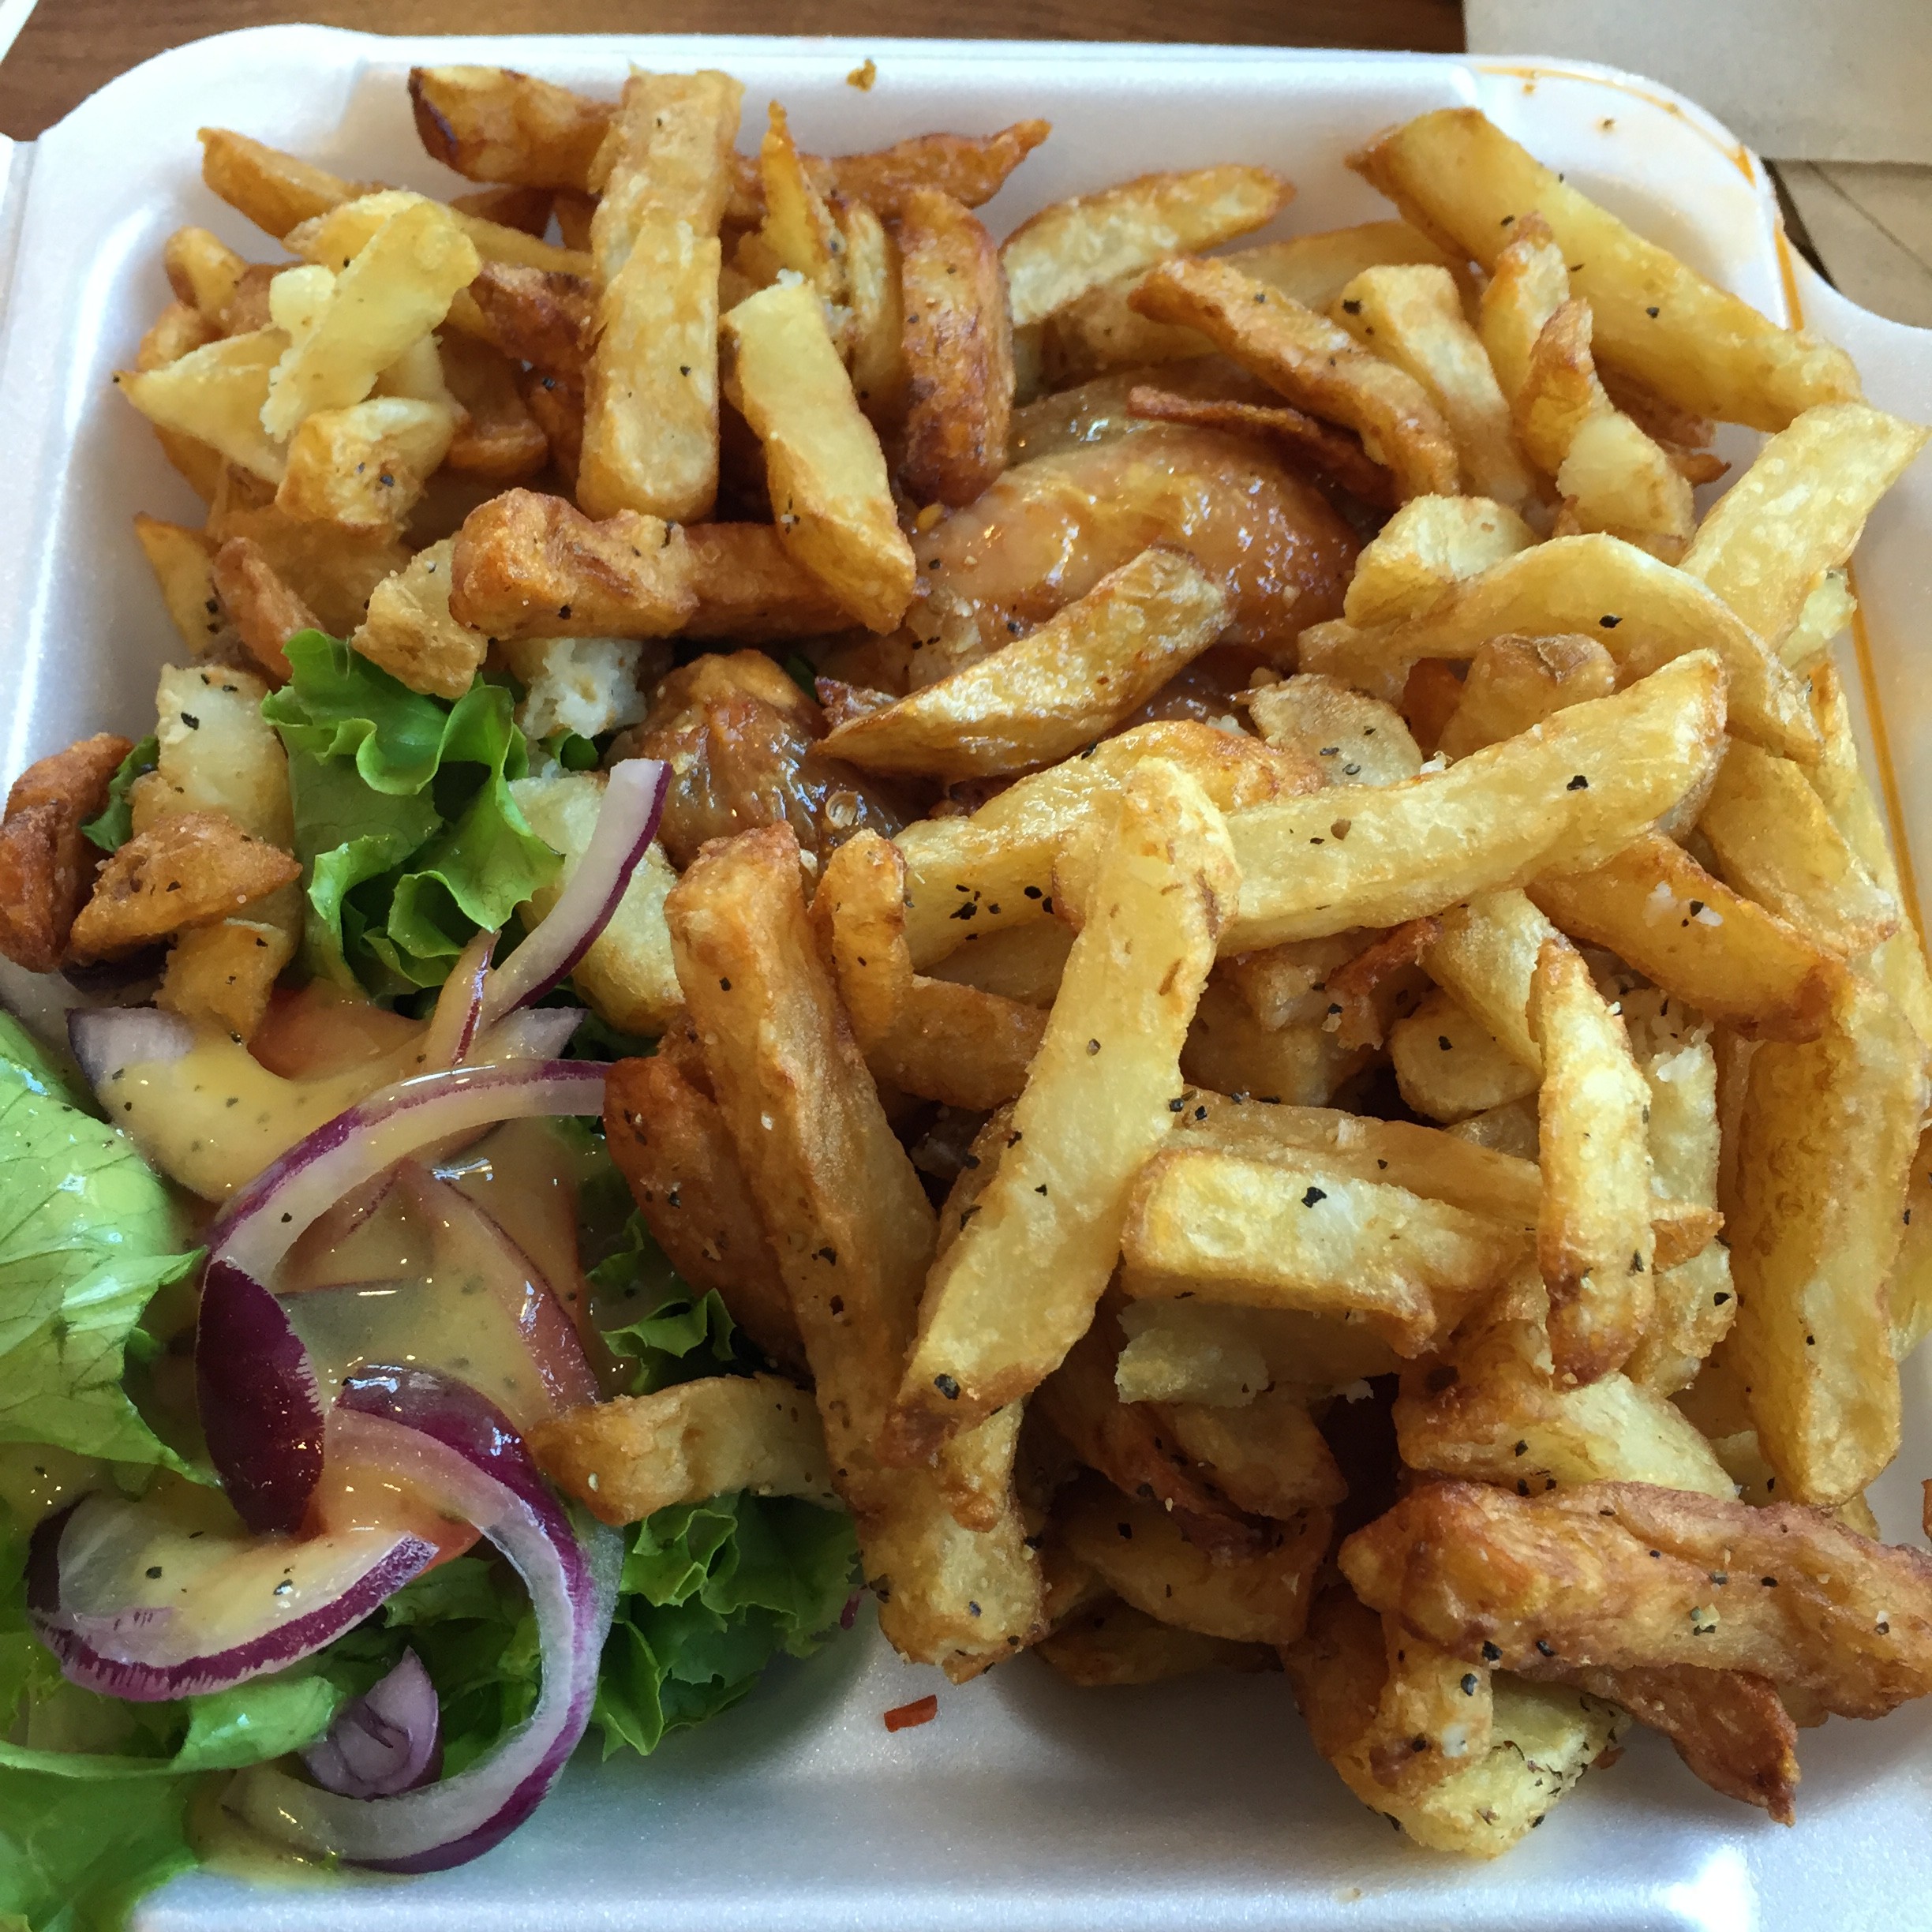
#4: Order Shoyu Chicken at Nagasako’s in Lahaina.
Many guidebooks will tell you to attend at least one Hawaiian luau, which is essentially a dinner and hula show (typically put on by a hotel). These can be pretty expensive; many can cost $100 or more. Instead of spending all that money on a touristy event, I’d suggest checking out one of the many local restaurants and take-out places that cater to locals. My favorite of these places in Lahaina is Nagasako’s.
During my junior and senior years of high school, I worked at the local Jamba Juice and Starbucks, both of which are located in the same shopping complex across from Nagasako’s. This take-out place serves traditional Hawaiian “plate lunches,” which consists of rice, macaroni salad, and typically a meat entree, such as chicken cutlet or hamburger steak. My favorite plate lunch is the shoyu (pronounced: “show-you”) chicken, which consists of 3 pieces of chicken cooked in a soy-sauce based mixture, two large scoops of white rice and macaroni salad.
From a cultural perspective, plate lunches are a uniquely Hawaiian thing. During the 19th and early 20th century, laborers were recruited from across Asia (my great-grandparents included) to work on the sugarcane plantations. During lunch, these plantation workers would share their food with one another, which often consisted of a meat dish and rice. This eventually translated into the restaurants that exist throughout Hawaii, serving up dishes that we now call generically the plate lunch!
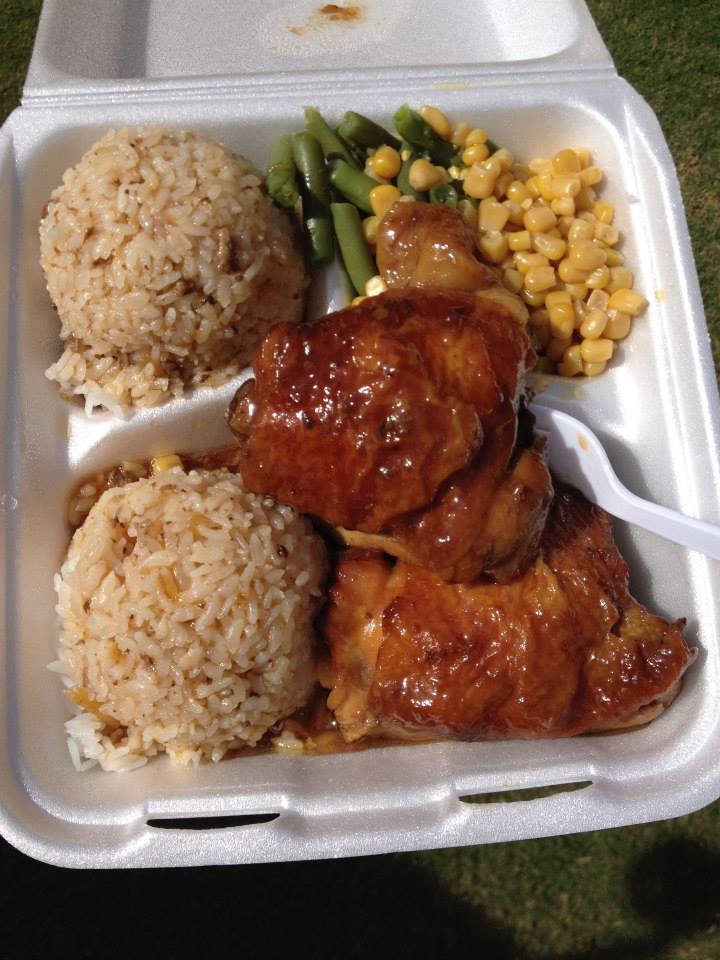
Shoyu Chicken from Nagasako’s in Lahaina.
#5: Sun-bathe and relax at Airport Beach in Ka’anapali.
How could I visit Maui without mentioning the beach! Maui offers dozens of different beaches to choose from, but I prefer to go to one that’s not so packed with tourists, that’s relatively close to home, and doesn’t typically have huge waves. For me, one beach in particular fits all the criteria: Airport Beach, located adjacent to the Honua Kai resort in Ka’anapali. Every time I head back to Maui I make an effort to visit Airport Beach at least once. To me, this is what being from Maui is all about. The sun, the sand, the calm blue waters. This is Maui at its best.
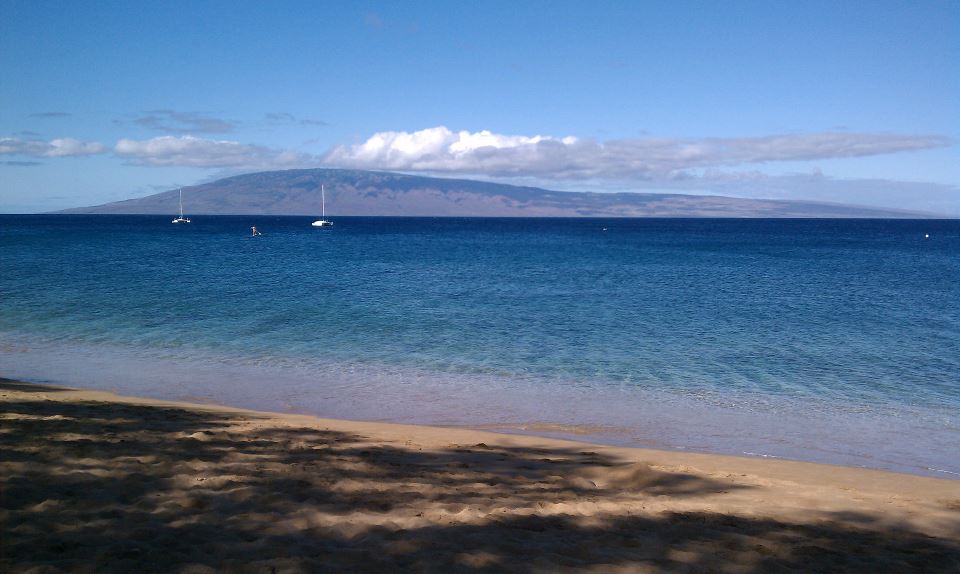
Airport Beach, Ka’anapali
And there you have it, my top picks on what to do to experience Maui like a local. If you’re planning a trip to Maui sometime soon, feel free to ping me with any questions you have. I’d be glad to help!

 The Fairmont Hotel Frontenac, an icon of the city of Quebec, renowned for its architecture.
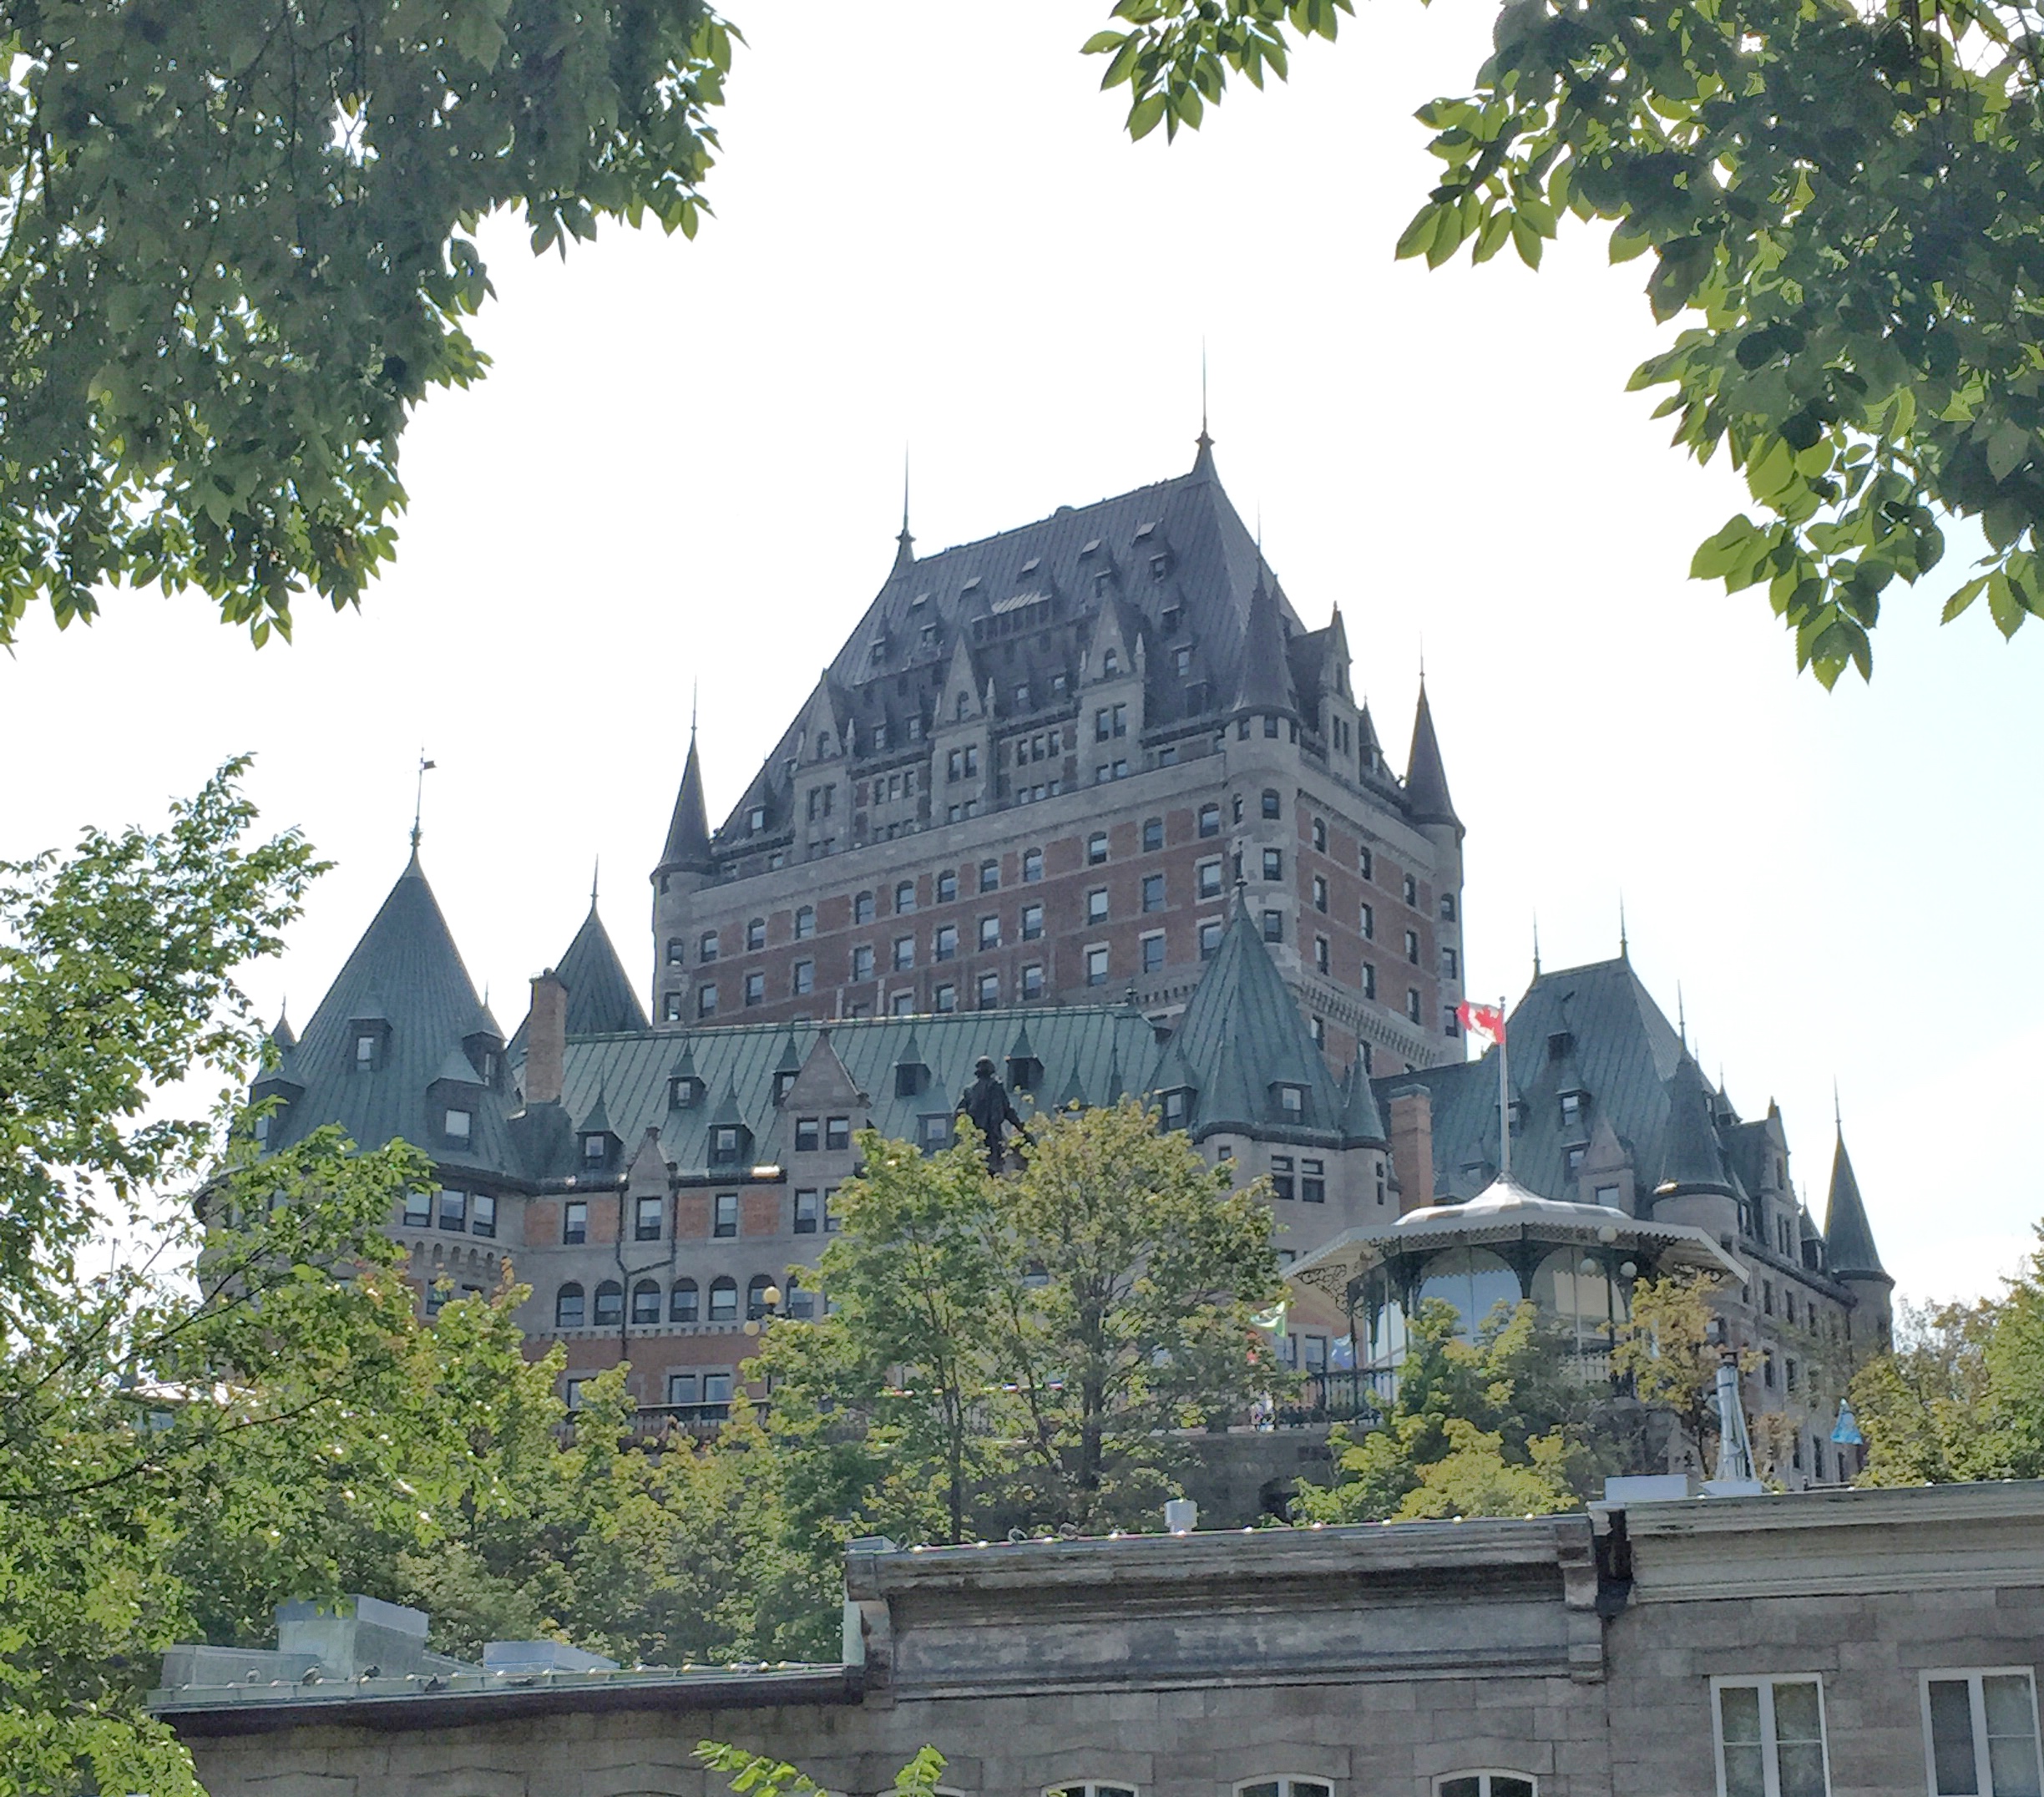
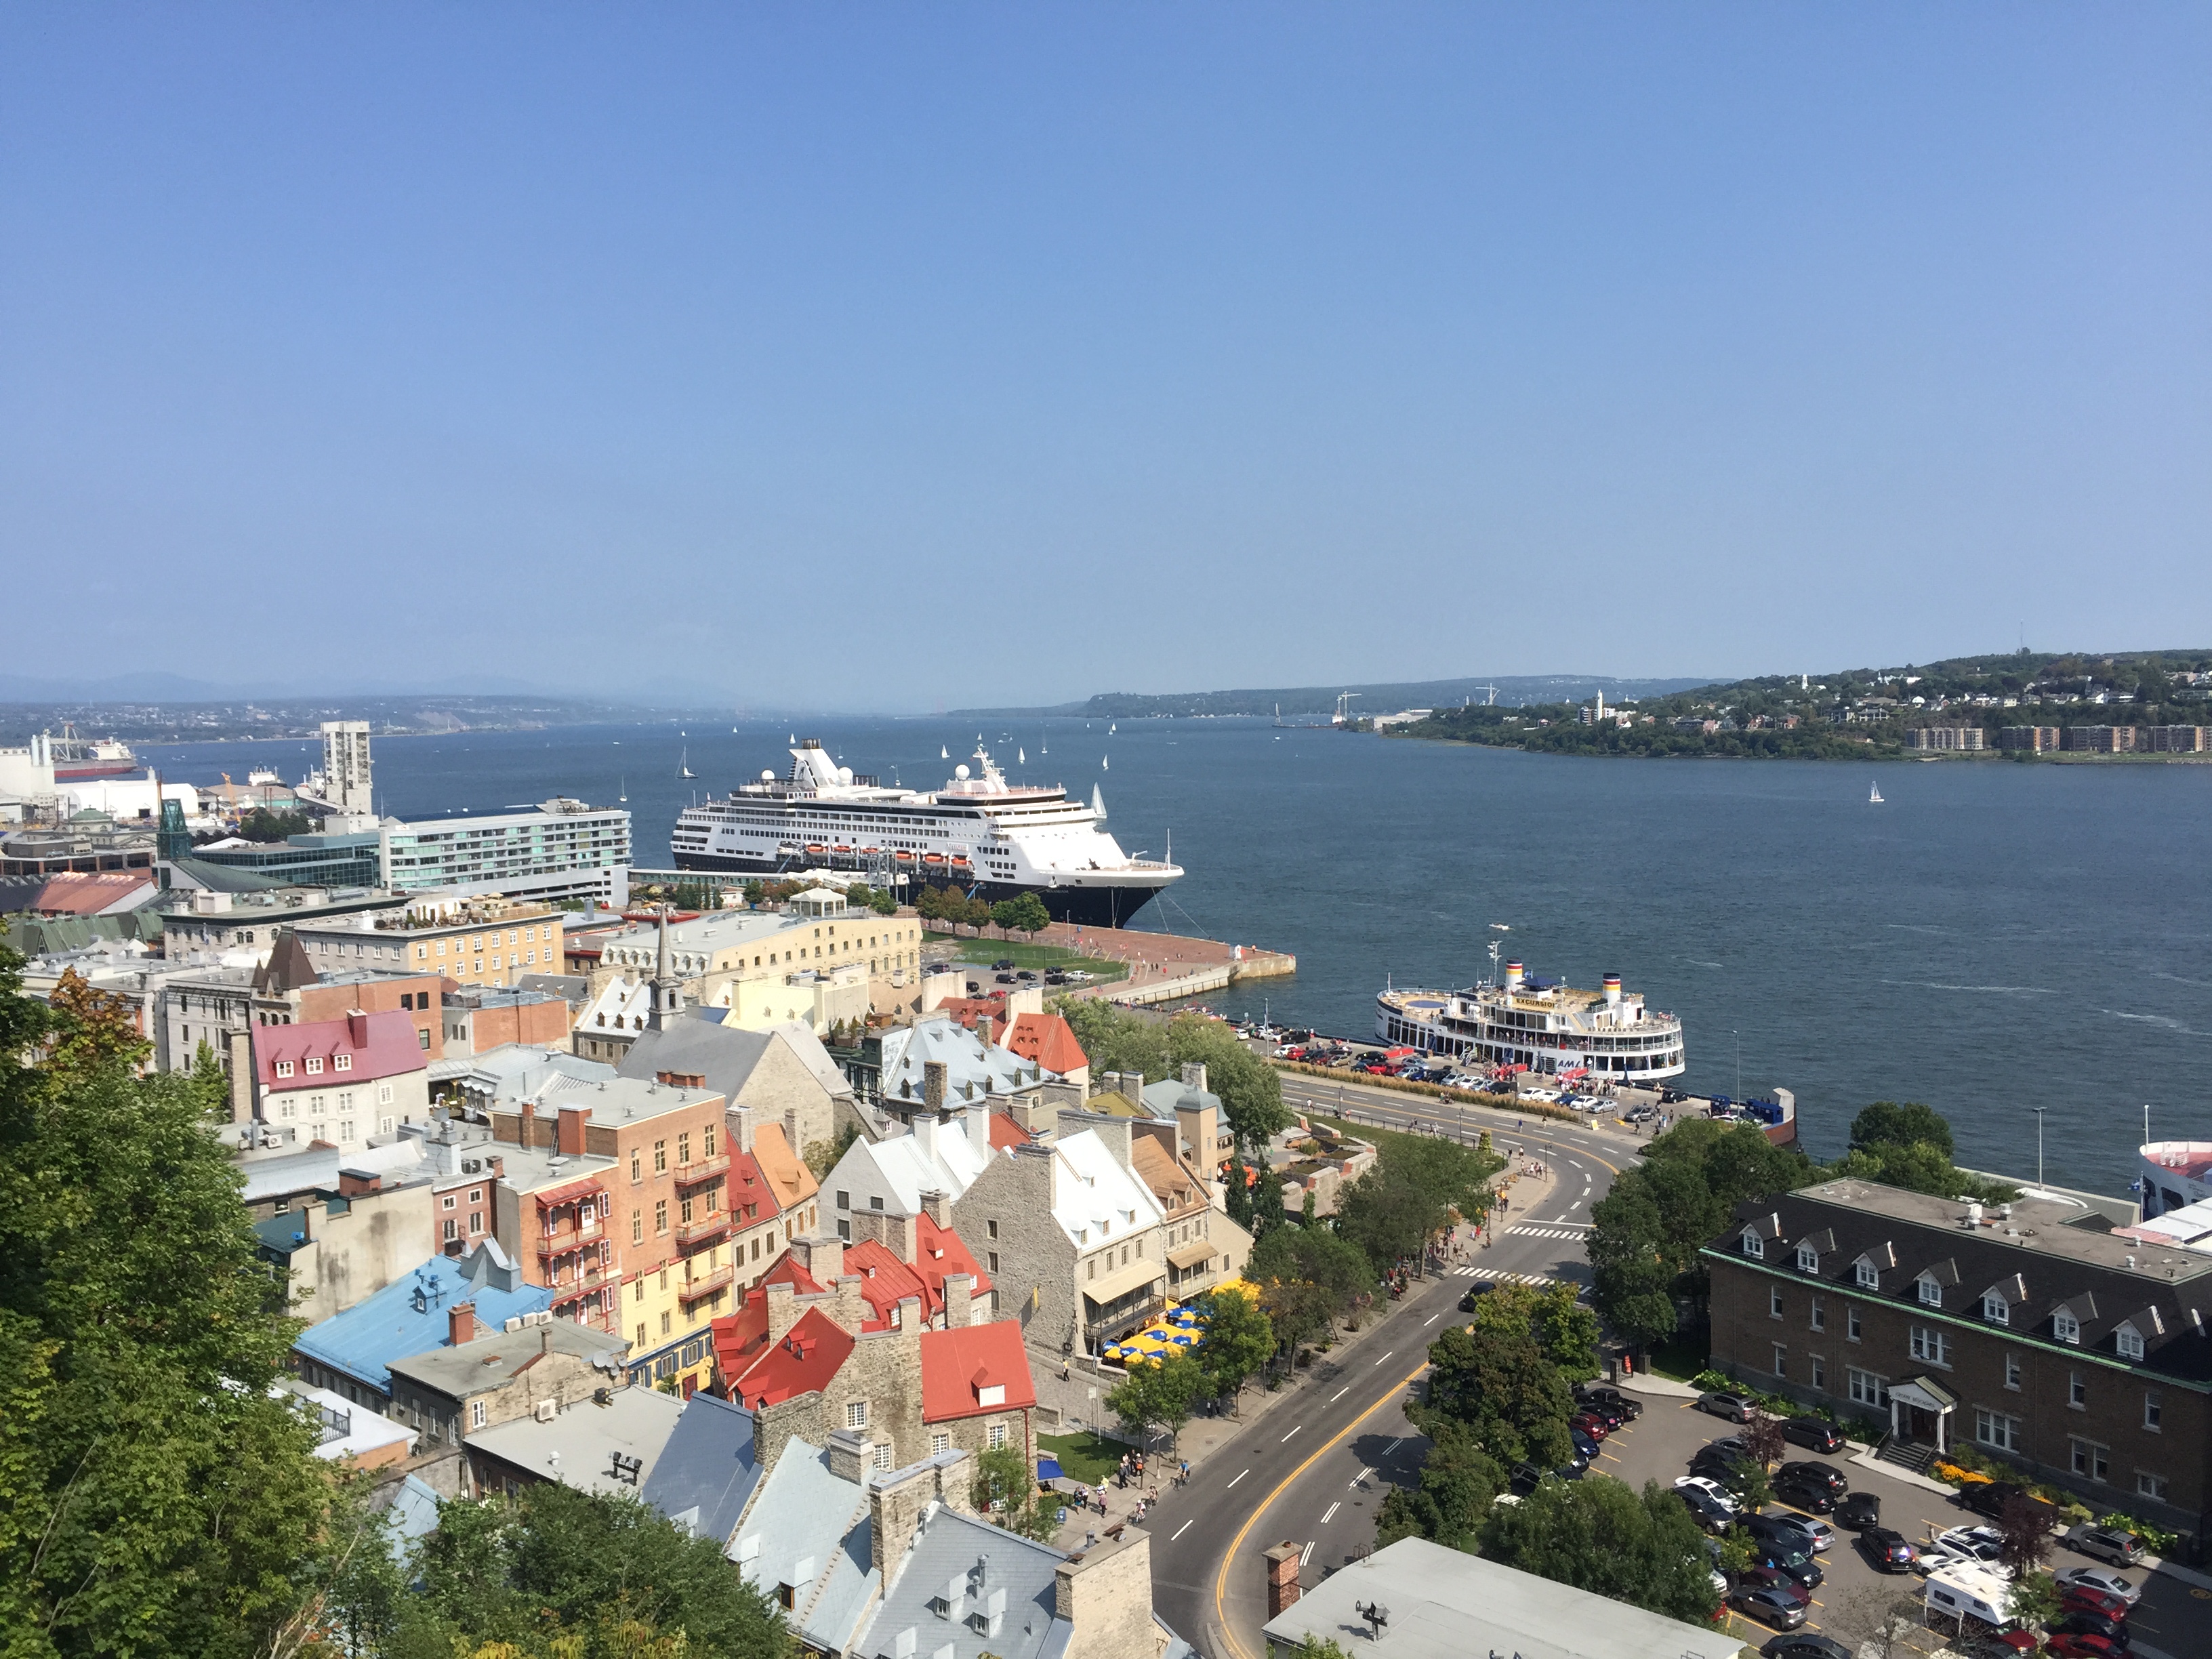
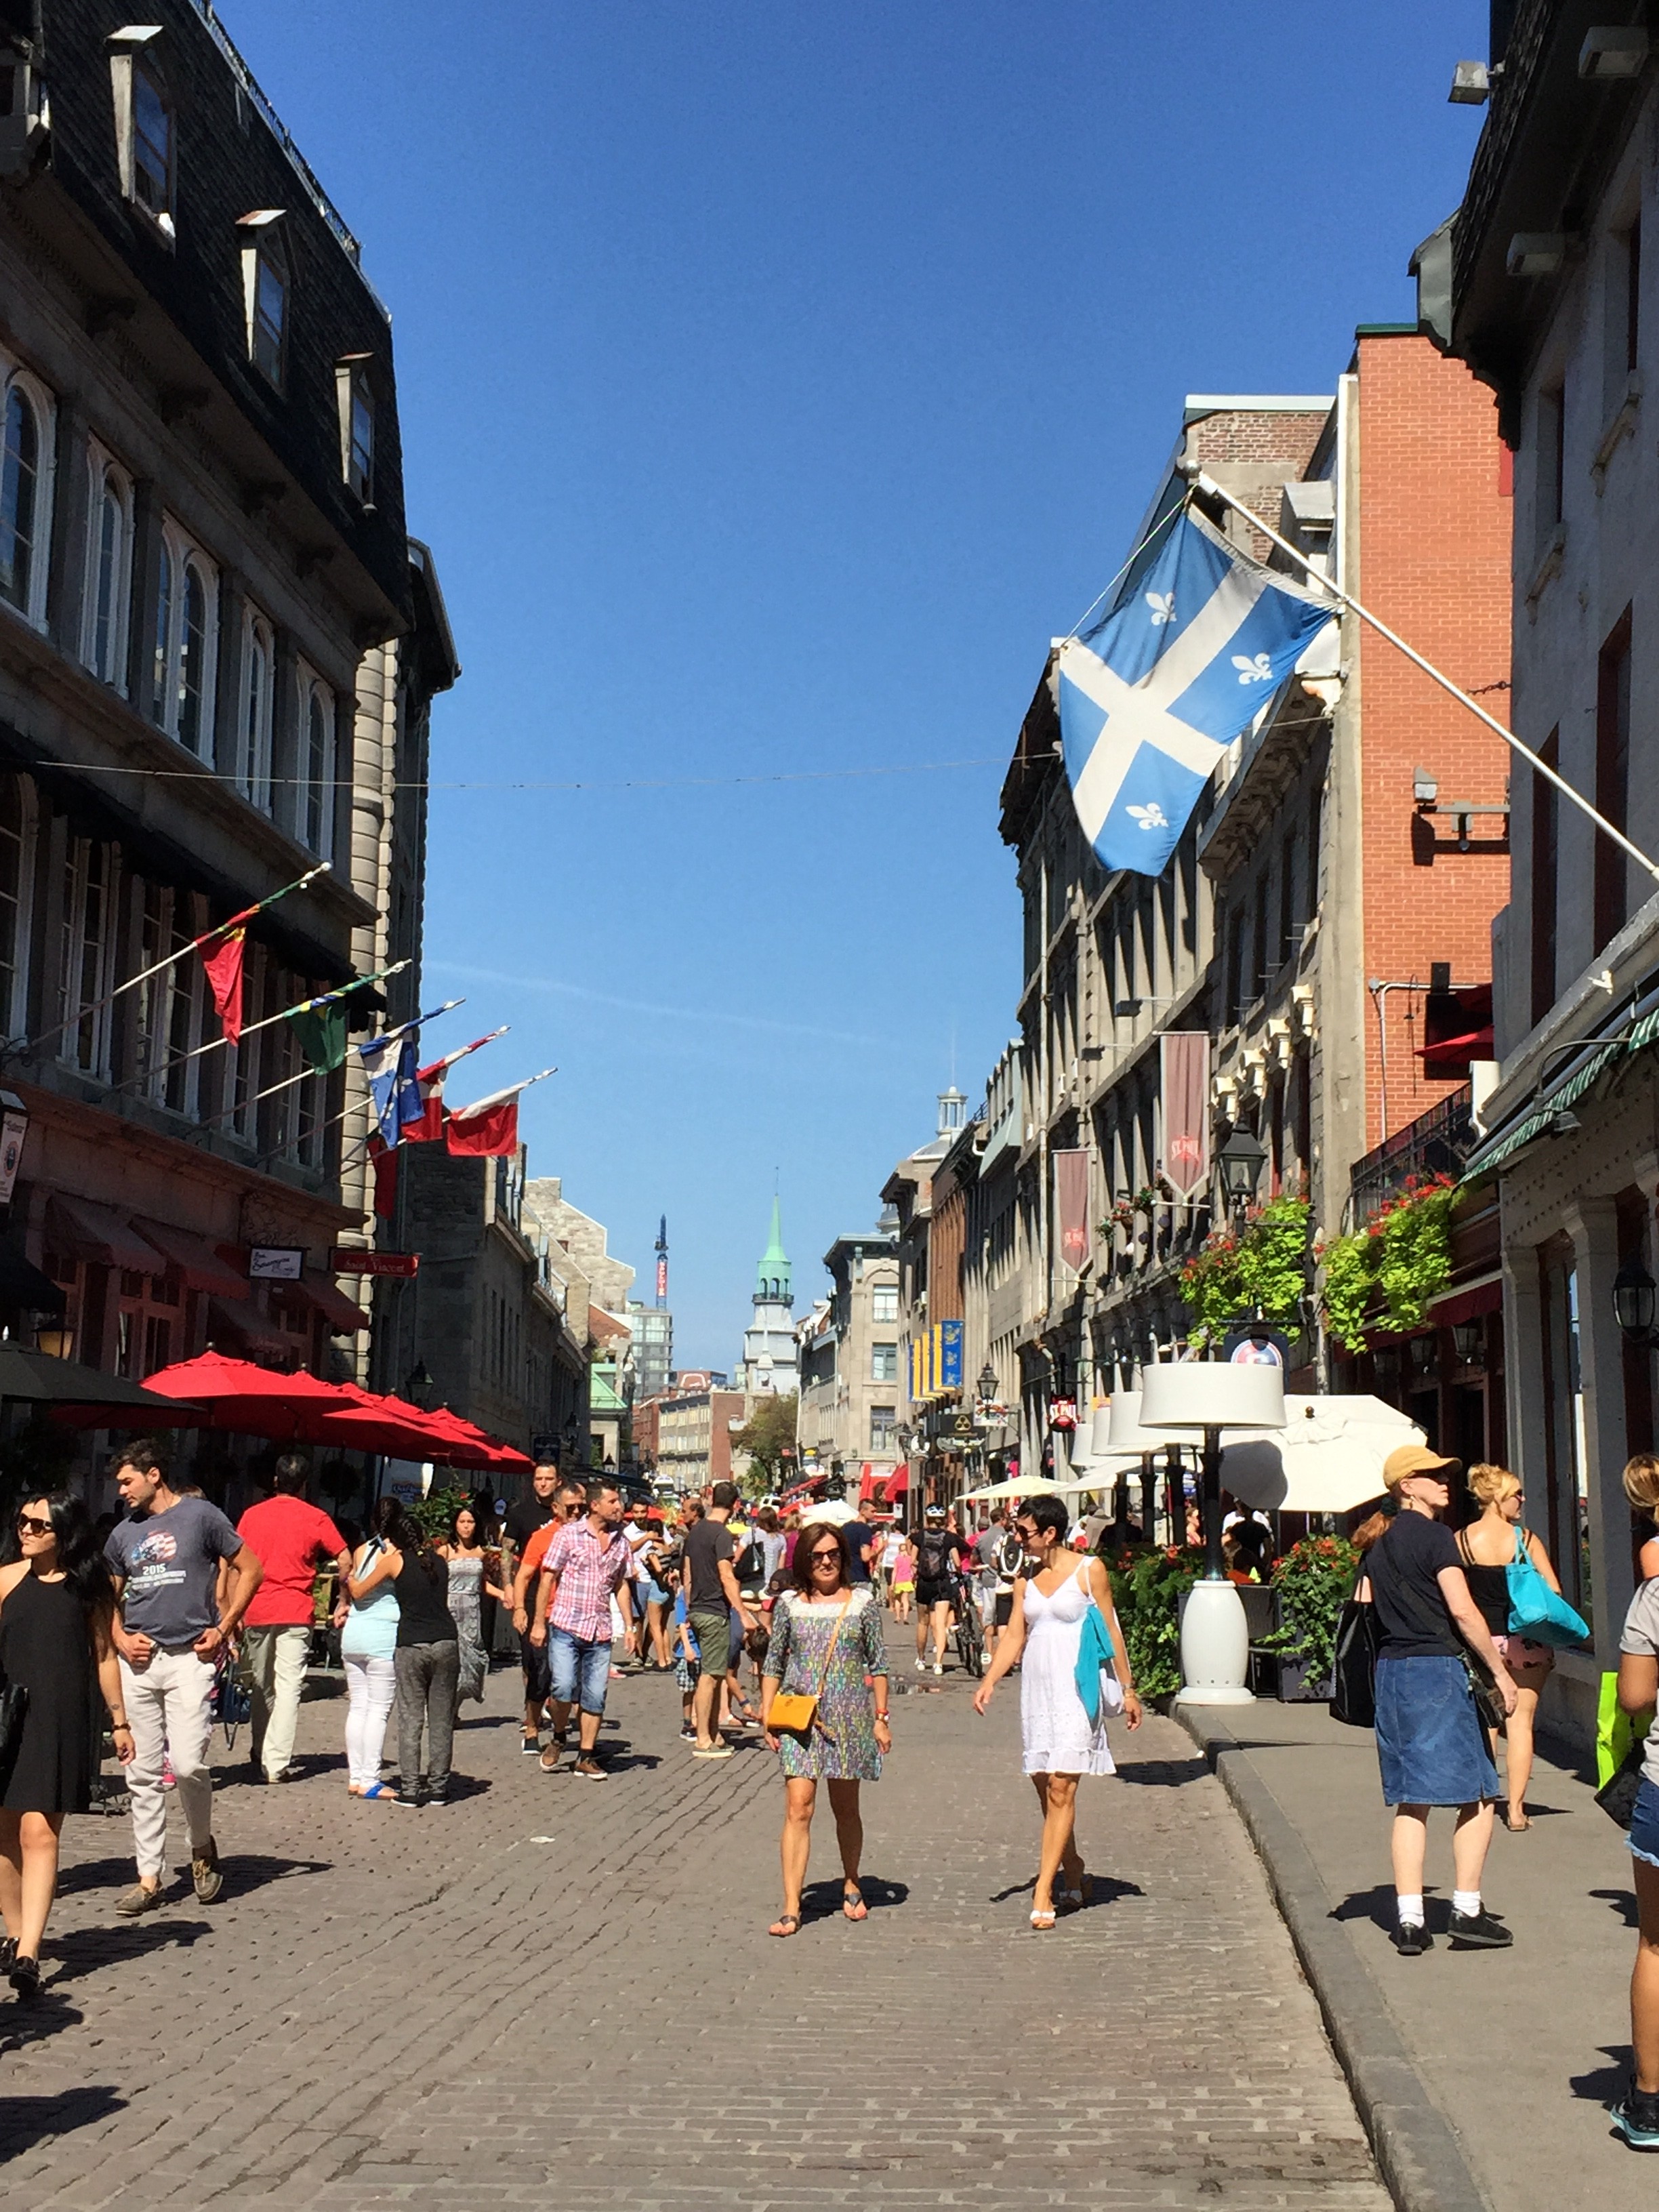
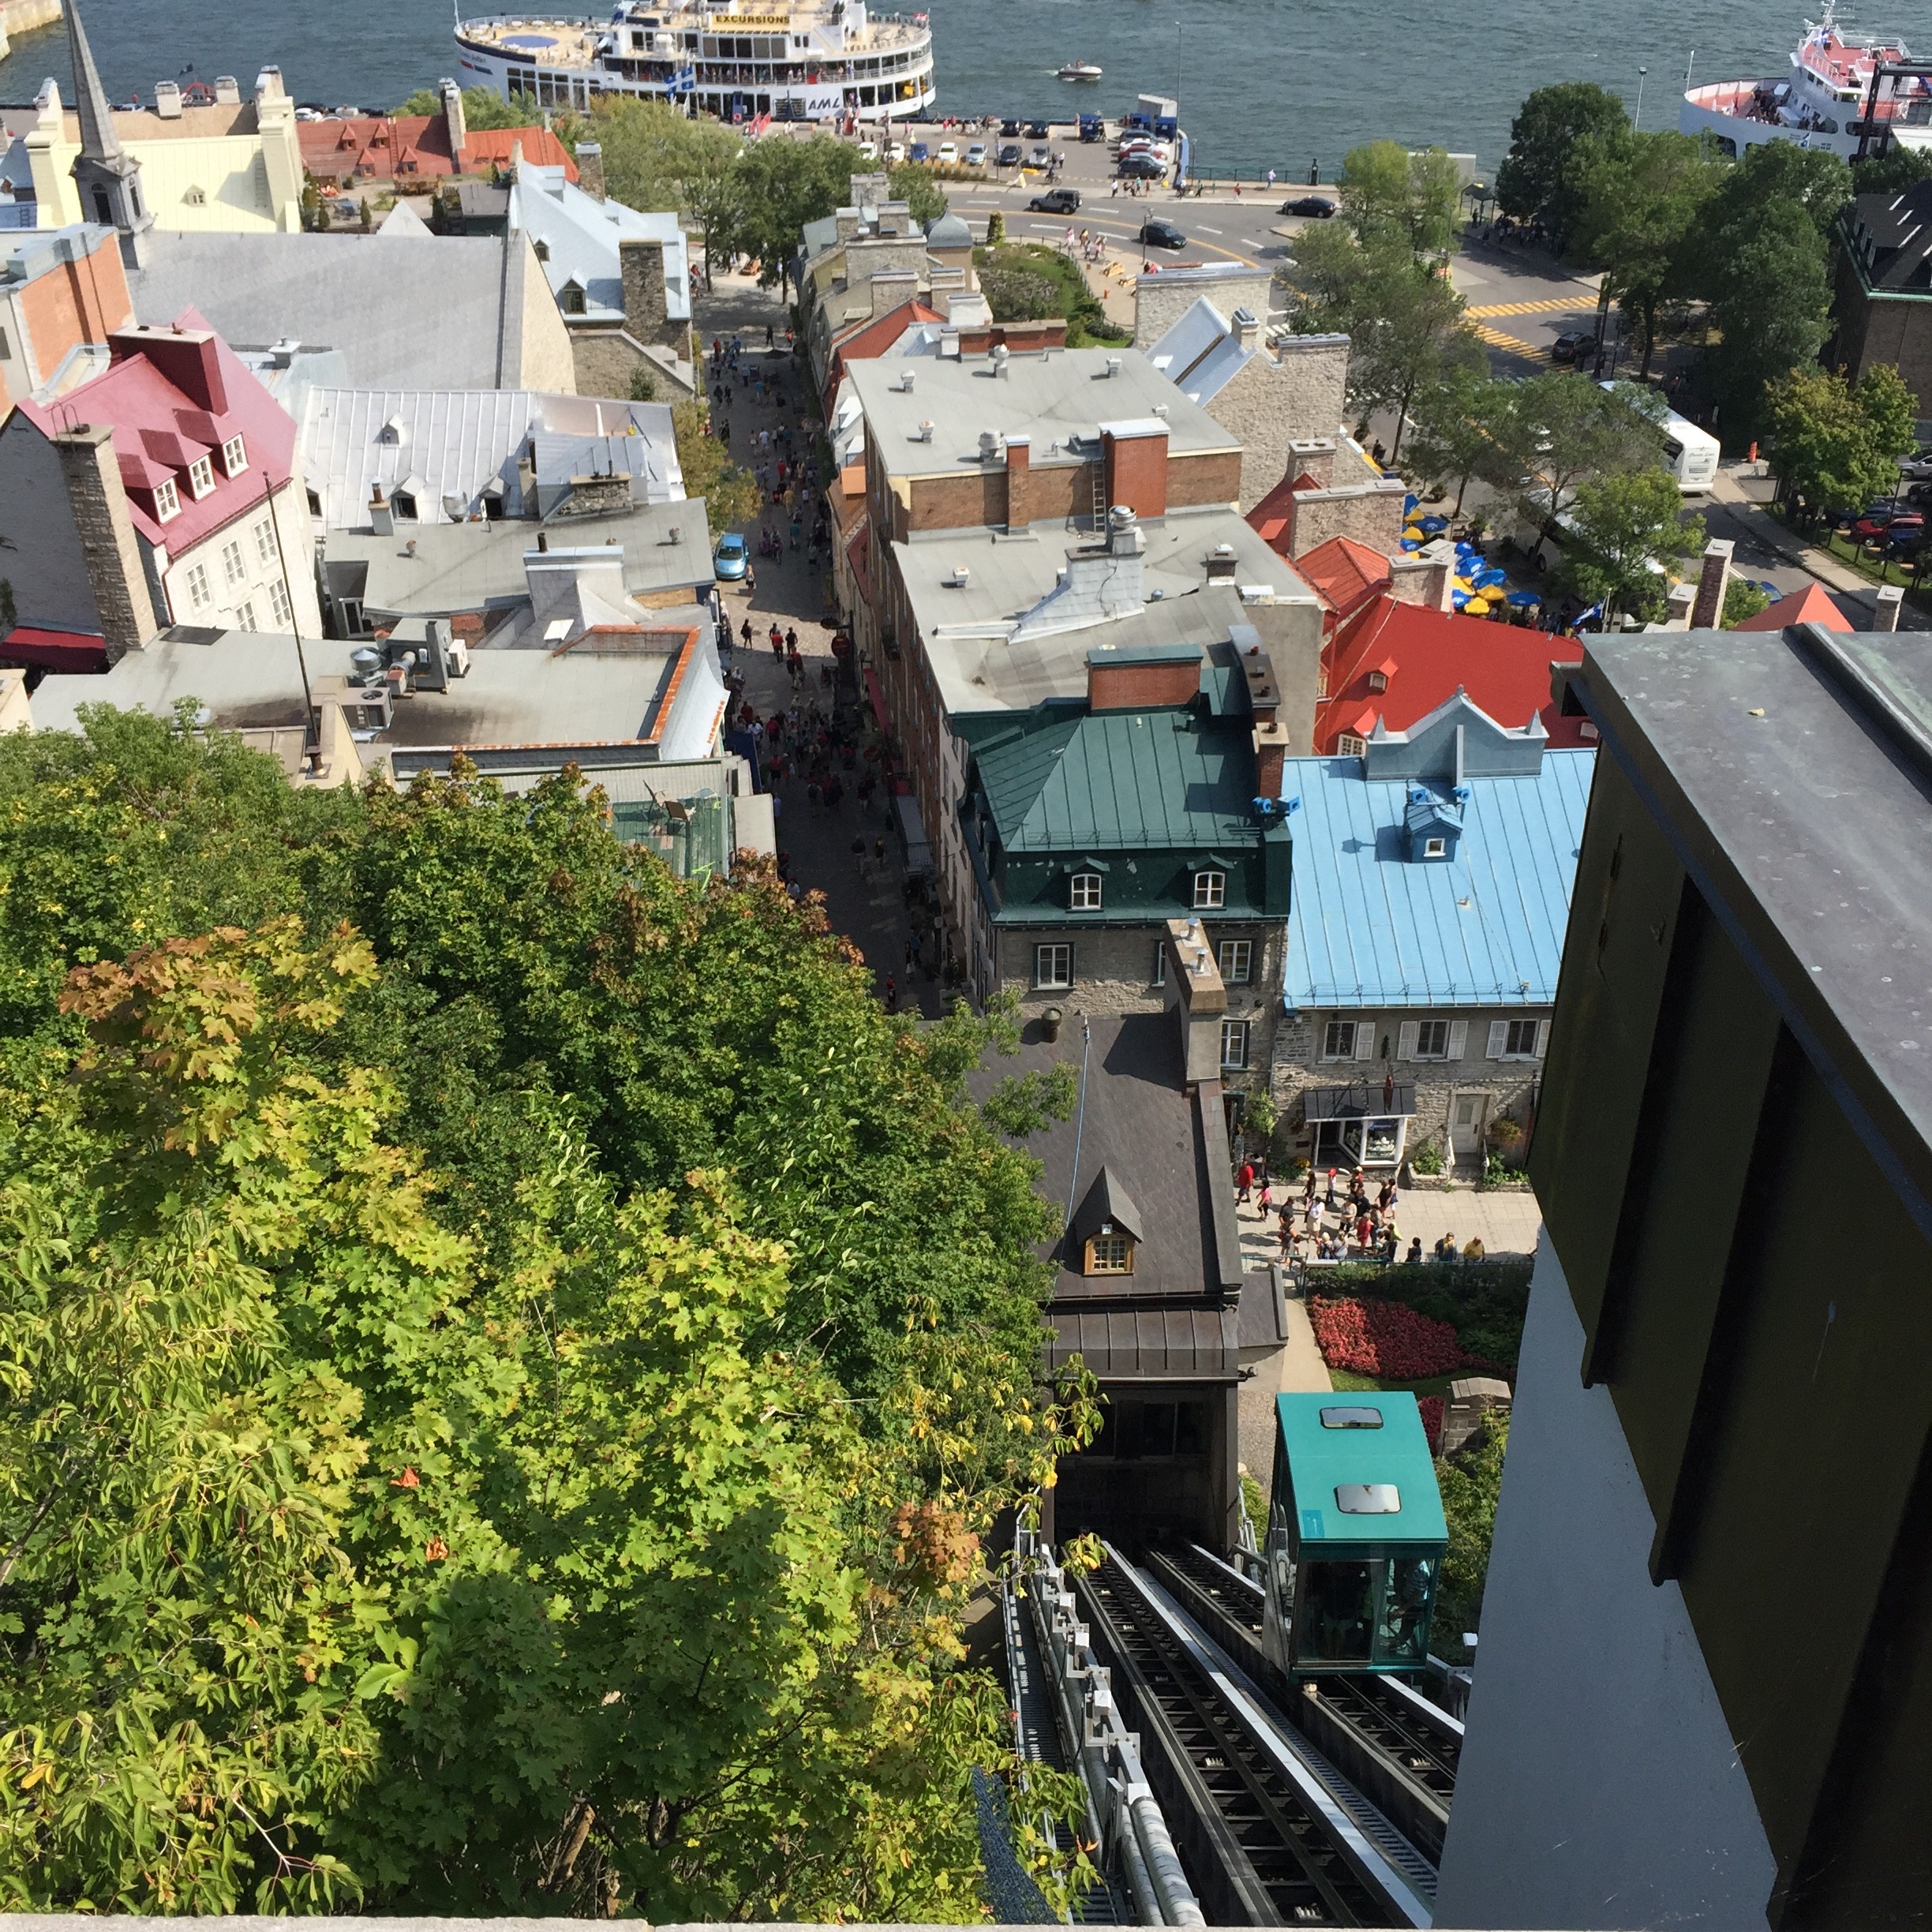 Streetscape in Quebec City
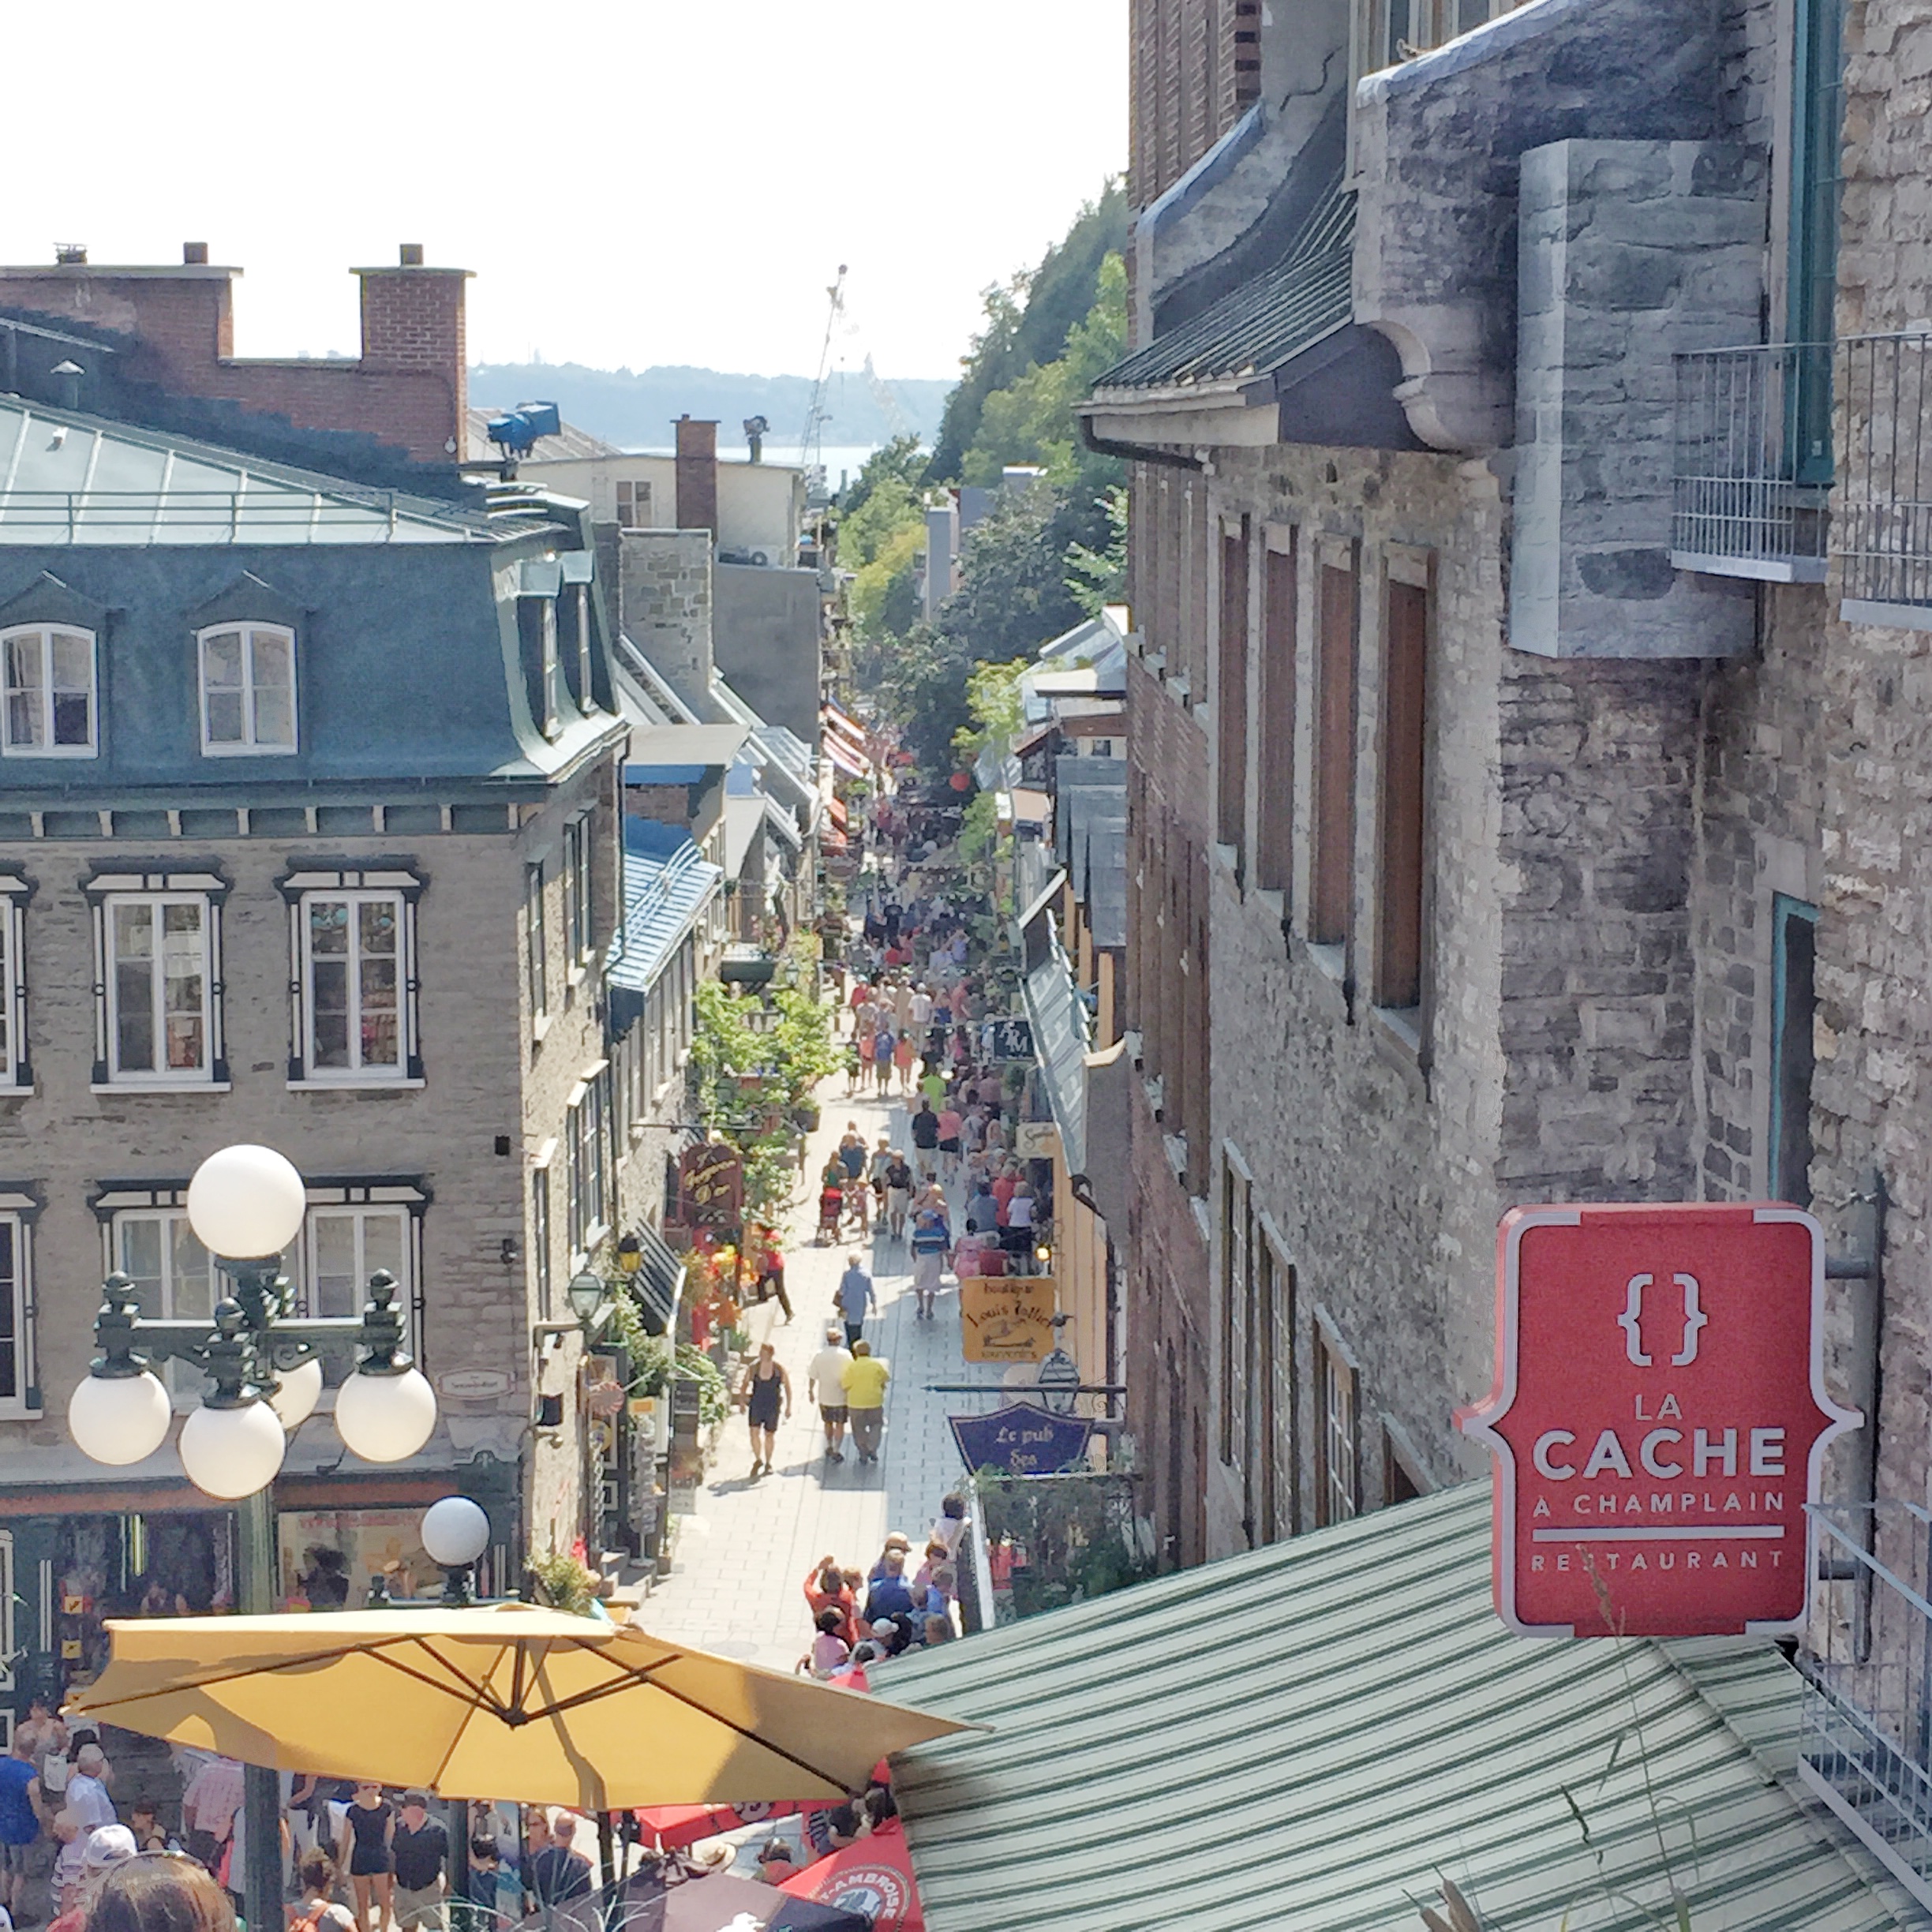
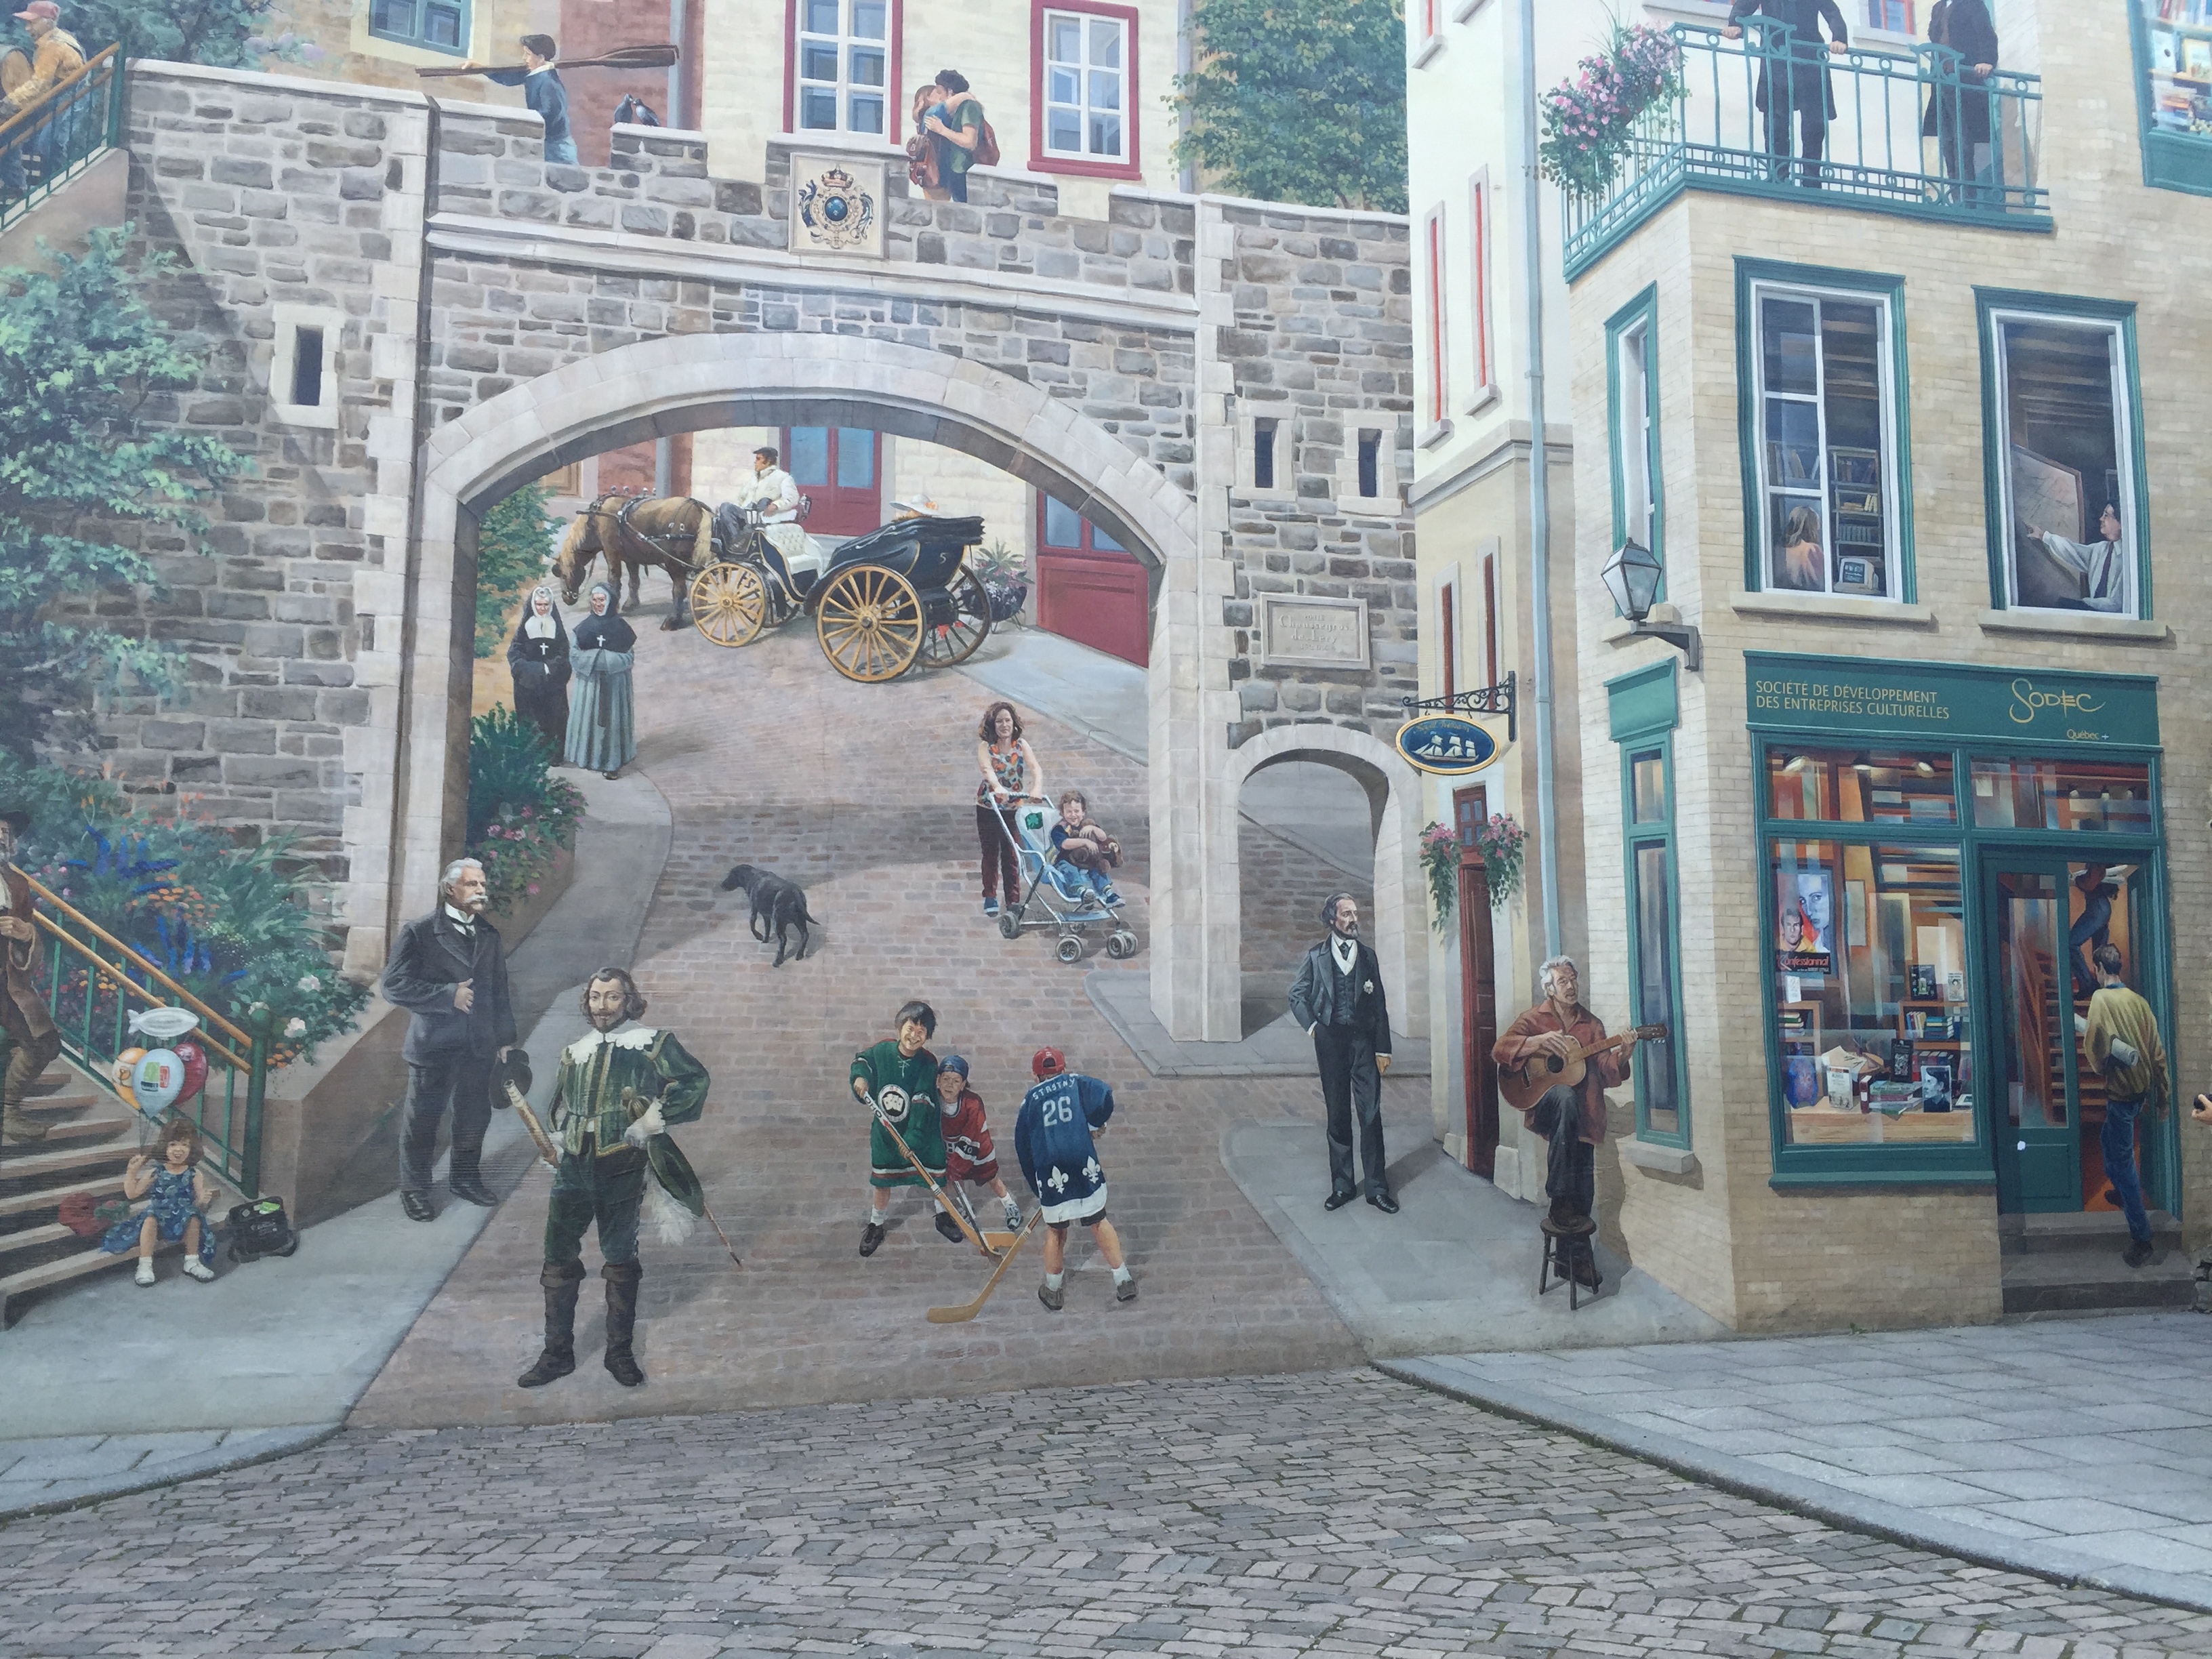
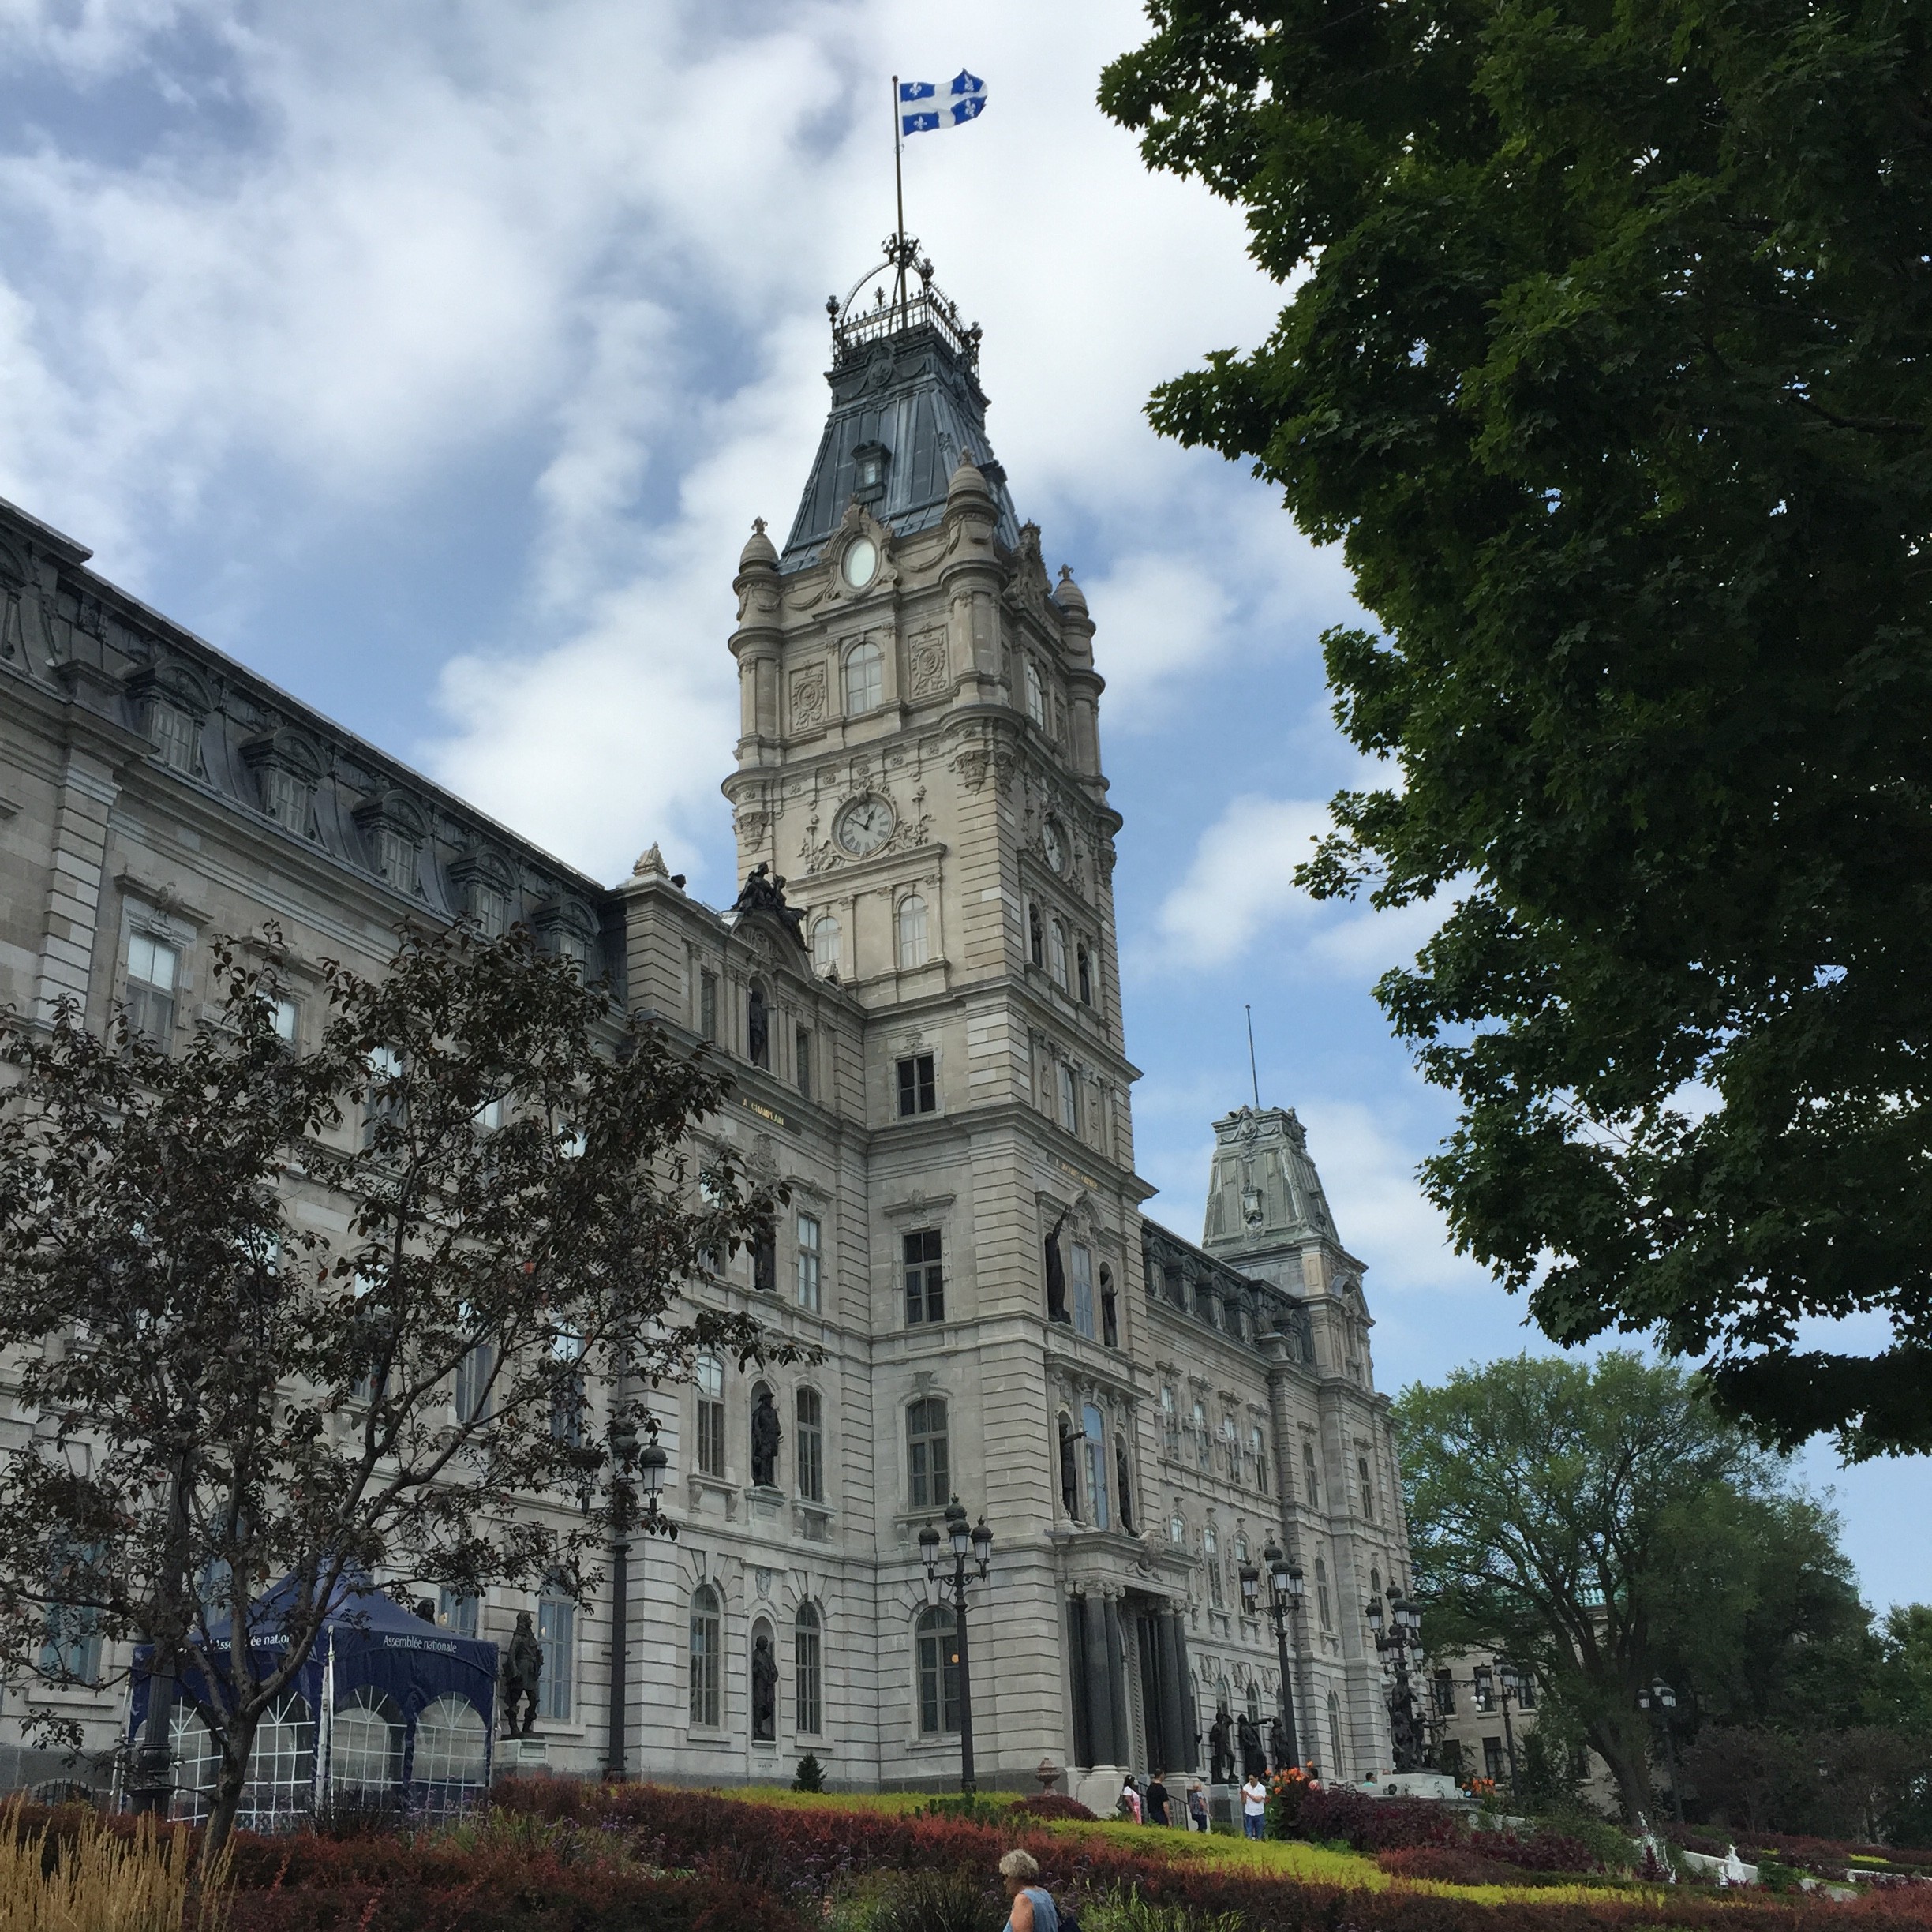
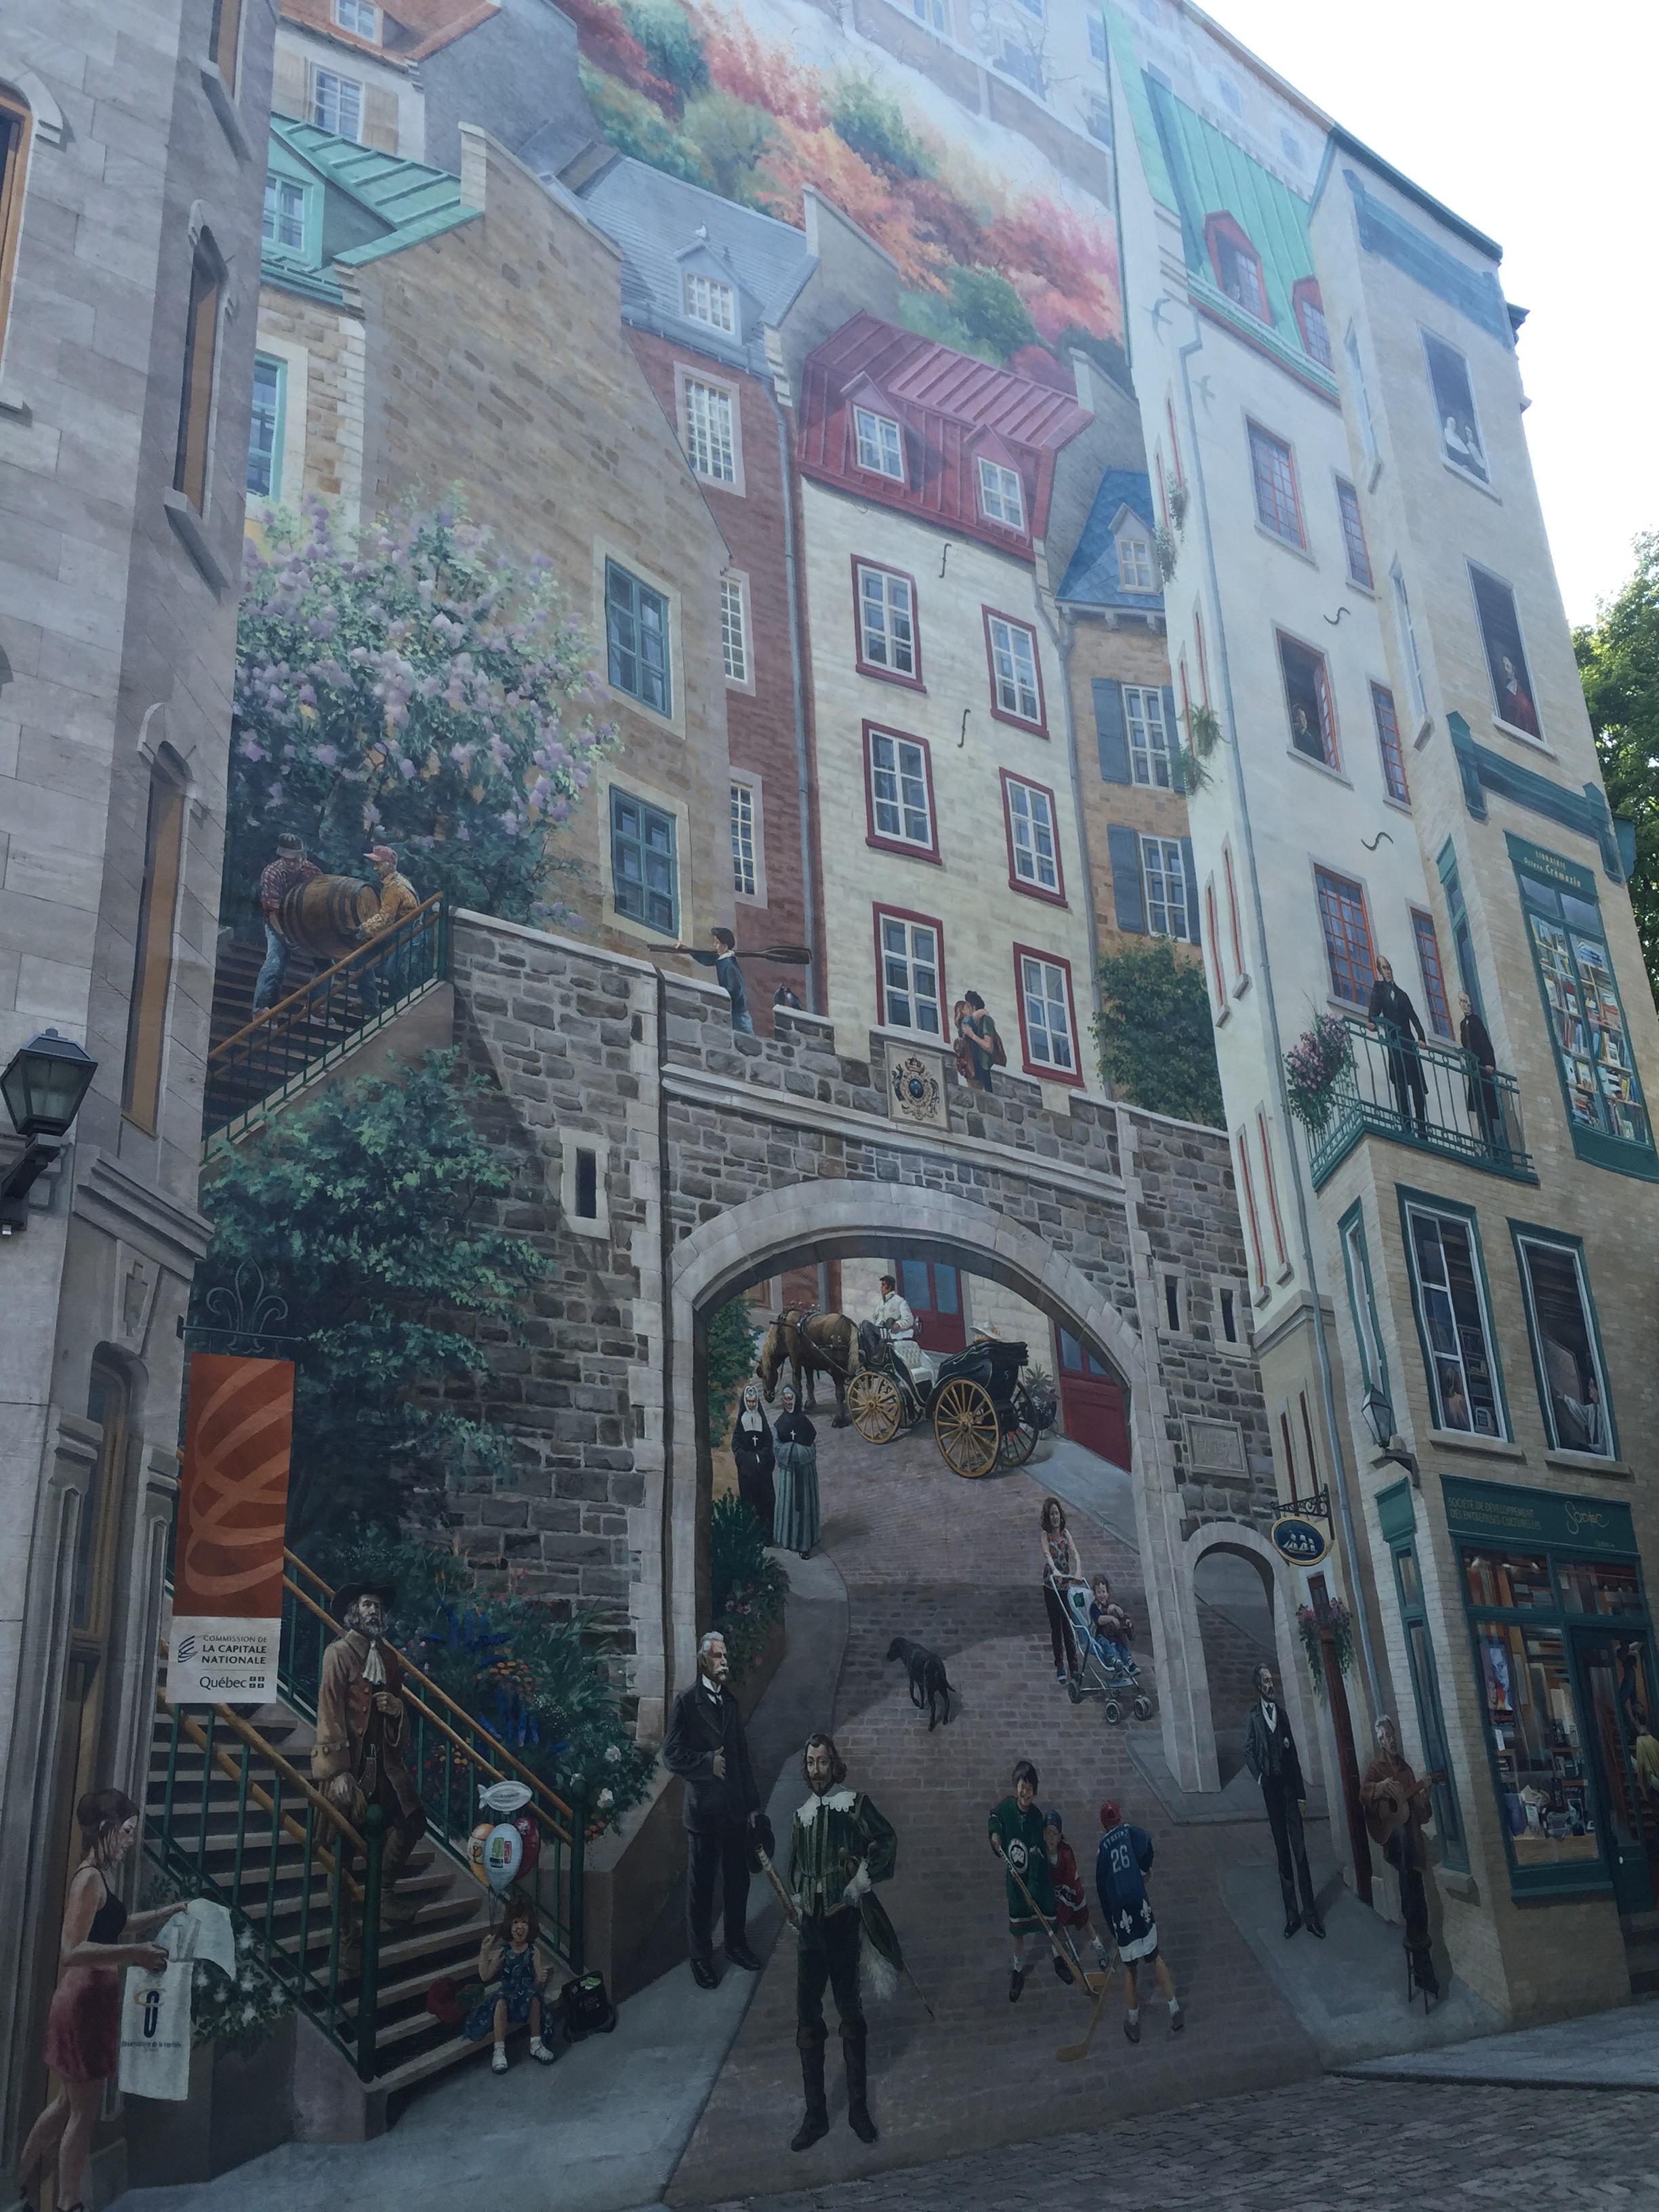 #4: Learned about the history of French Canada and Quebecois identity